
Introduction
Important: Only undertake this procedure if you have been trained to do so!
The alignment is rather sensitive and the lens is delicate. Without training you may easily make things worse and require that the machine be taken offline.
Parts
No parts specified.
-
-
Follow 02 - Laser Cutter Start-up to turn on the laser cutter
-
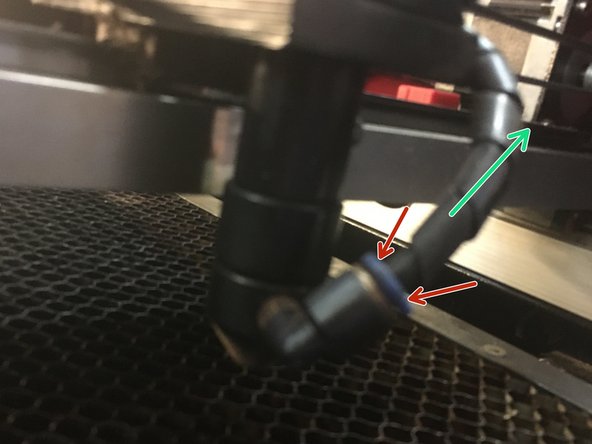
Use the jog buttons to move the head to a comfortable position near the front of the machine.
-
Lower the platform to give yourself enough room to work.
-
-
-
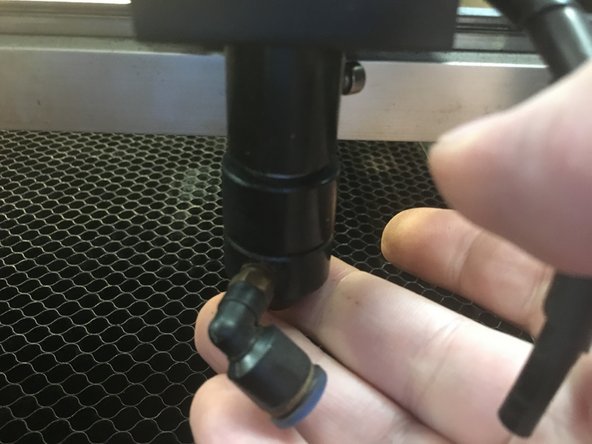
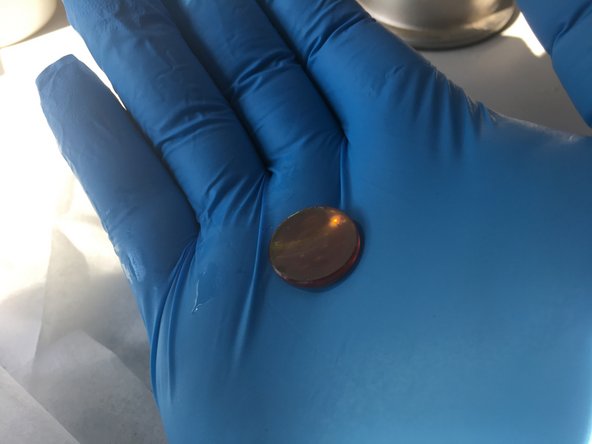
Don your nitrile gloves!
-
The material the lens is made of is not particularly good for humans to play with. Gloves are a must while handling the lens.
-
Oils left on the lens after cleaning can be fused to the surface by the laser after cleaning. Gloves help prevent these oils from ending up on the lens.
-
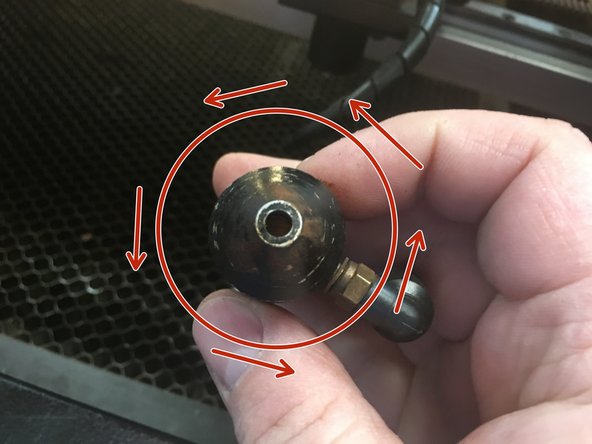
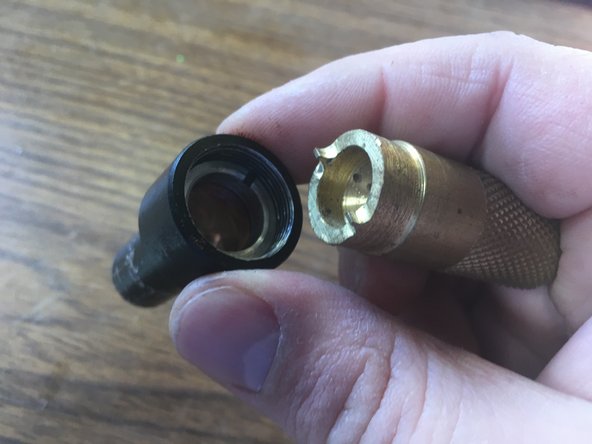
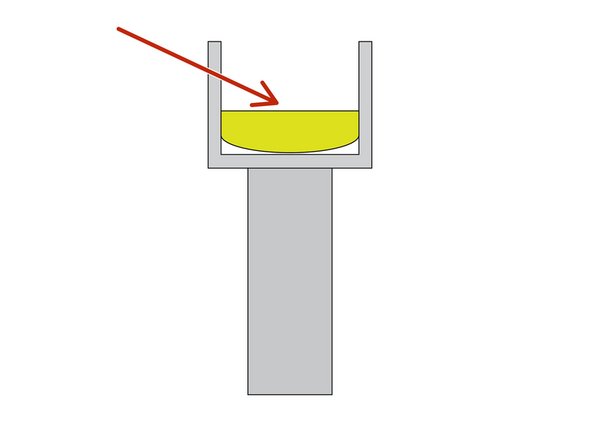
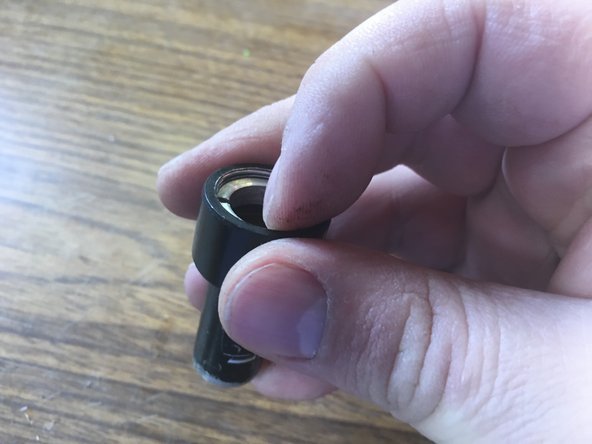
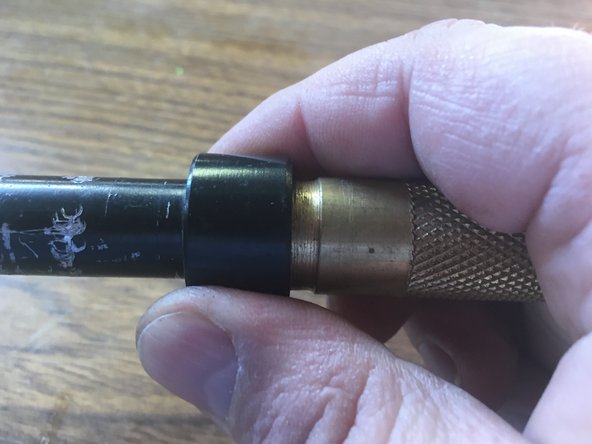
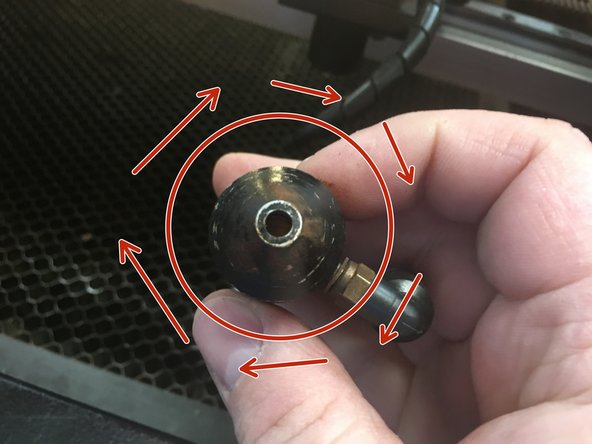
Turn the lens holder over into your gloved hand to remove the lens.
-


Always be sure to run a test job (the laser training ruler works well) to ensure that nothing is amiss after the operation is complete.
Always be sure to run a test job (the laser training ruler works well) to ensure that nothing is amiss after the operation is complete.