Difficulty
Easy
Steps
14
Time Required
00:01:00
- Changing Guard and Riving Knife 14 steps

Missing Images
This guide needs more images to properly convey the procedure being described.
Quiz
0
-
-
If you are removing the riving knive, skip ahead
-
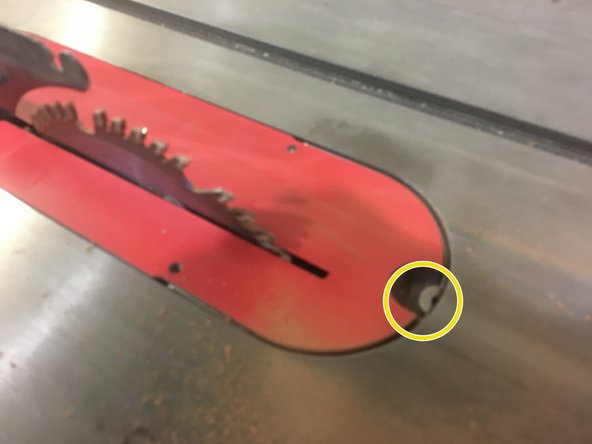
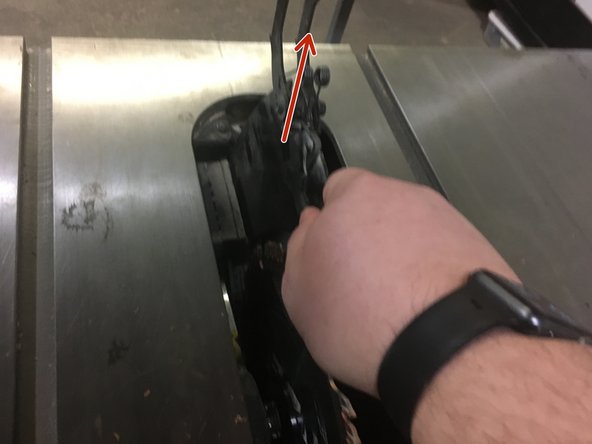
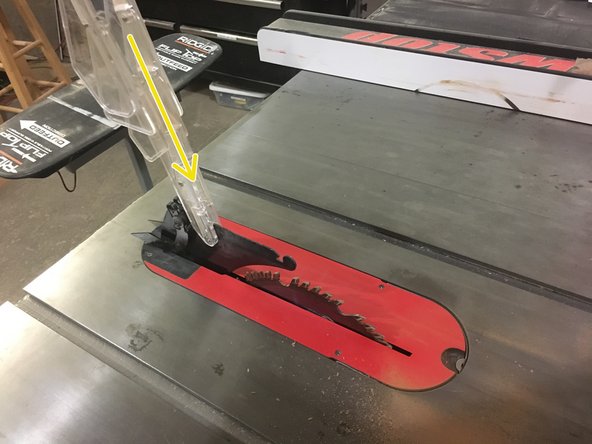
Pull slightly forward on the plastic guard (you should feel slight spring pressure).
-
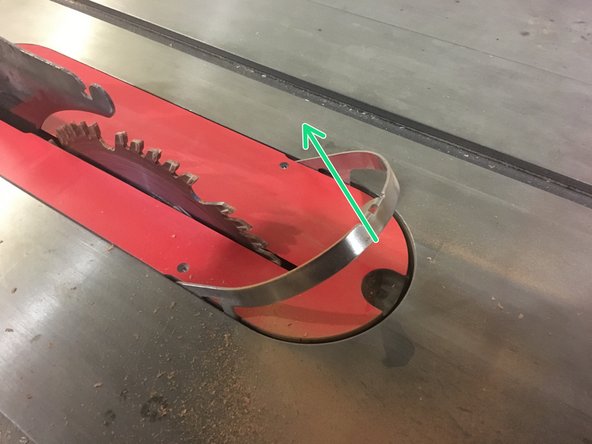
While pulling foward, rotate the front of the guard upwards, toward the ceiling.
-
-
-
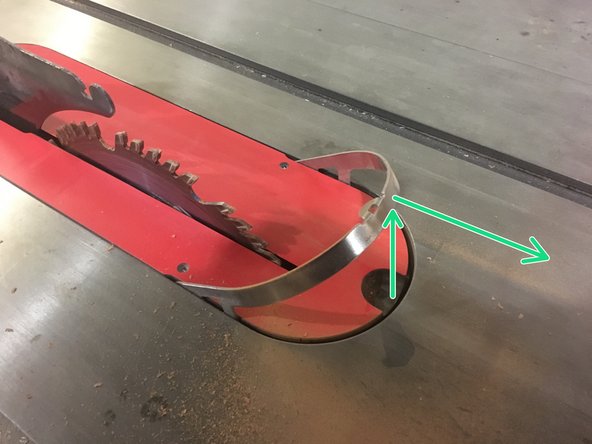
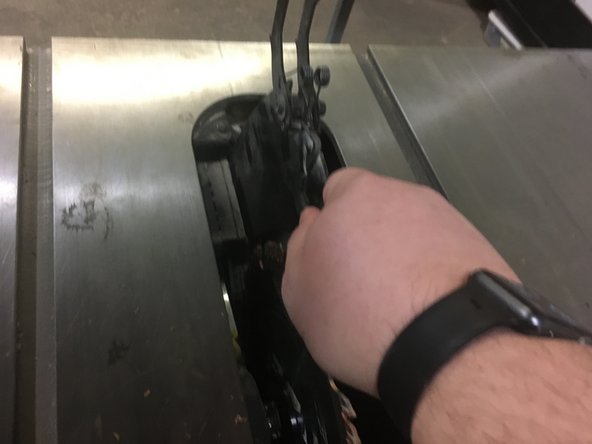
With the guard straight up in the air, lift the guard straight up to remove it from the metal support.
-
It can also be useful to rotate the kickback pawls upward (there should be a detent which keeps them up). This will make removal of the throat plate easier.
-
-
-
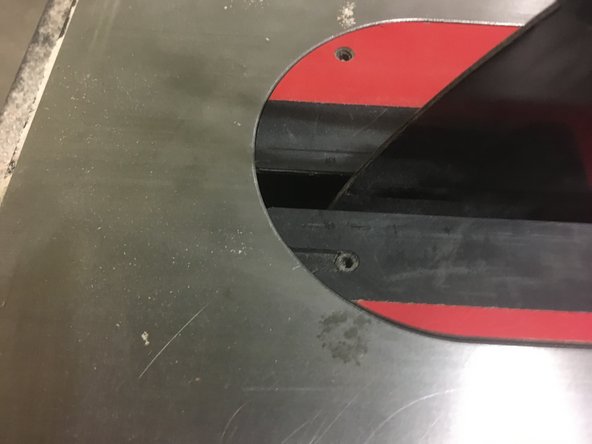
Locate the metal tab on the front of the throat plate.
-
Pull up on this tab to release the throat plate's locking mechanism.
-
-
-
Pull up on the front of the throat plate to raise it from the recess on the table.
-
Now, pull the throat plate foward to remove it completely.
-
The throat plate engages on two pins in the back of the recess which lock it down to the table. Lifting straight up will not allow the plate to come out and could damage the plate.
-
-
-
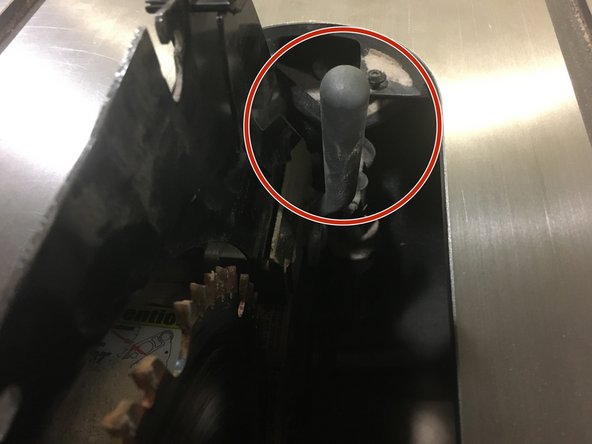
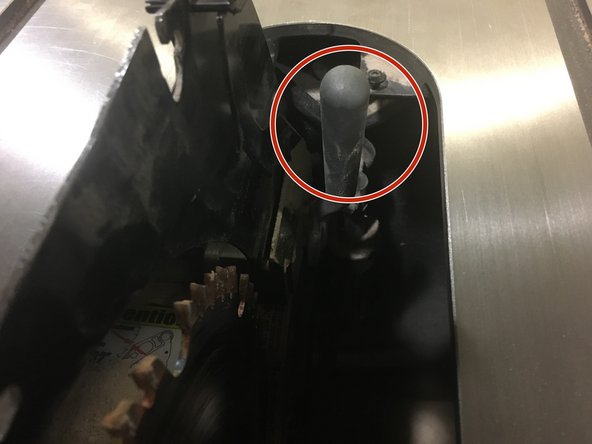
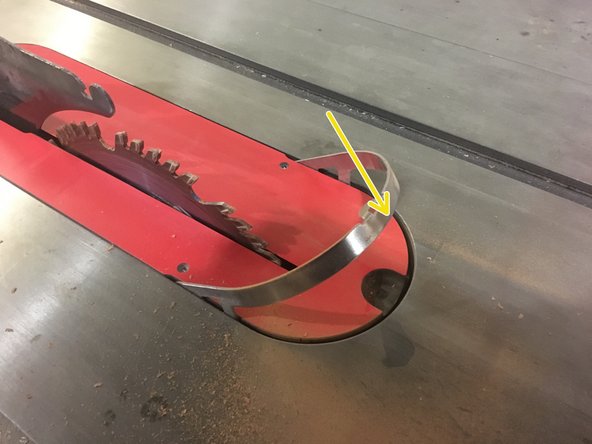
Locate the silver locking handle behind the blade on the right.
-
Rotate the handle toward you until it is upright. (The picture depicts the handle in the unlocked position)
-
-
-
If installing the guard, make sure that the anti-kickback pawls are in their up position. This makes it much easier to install the throat plate later.
-
Slide the guard or riving knife into the slot behind the blade.
-
Make sure the guard or knife if fully seated in the slot.
-
-
-
Rotate the locking lever down and toward the back of the machine.
-
Be sure the lever rotates completely back.
-
If the lever doesn't rotate all the way back, it usually means the guard or riving knife is not fully seated in the slot.
-
Unlock the lever and reseat the guard or knife.
-
-
-
Check to see that the knife or guard is firmly attached to the machine. It should not wiggle or be able to be pulled out.
-
If the guard doesn't feel fully secured, unlock the handle and reseat the guard.
-
-
-
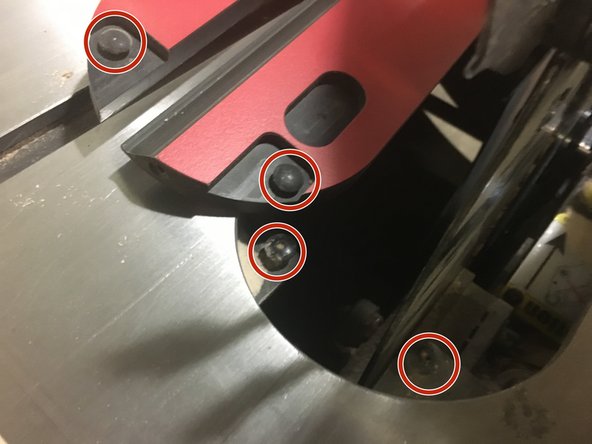
The backside of the throat plate engages under two pins that lock the back edge against the table.
-
Slide the throat plate in from the front, taking care to ensure that these two pins engage under their mating pins on the saw.
-
-
-
Check that the back side of the throat plate is flush or just below the surface of the saw.
-
If the guard is sitting proud of the table surface, the locking pins did not engage with each other correctly. Reinstall the plate taking care to get these pins to engage
-
Do not operate the saw if these back pins are not correctly engaged.
-
-
-
Rotate the locking lever downwards until it is fully latched.
-
If you are installing the riving knife, congratulations! Return guard to the slot in the side of the machine.
-
-
-
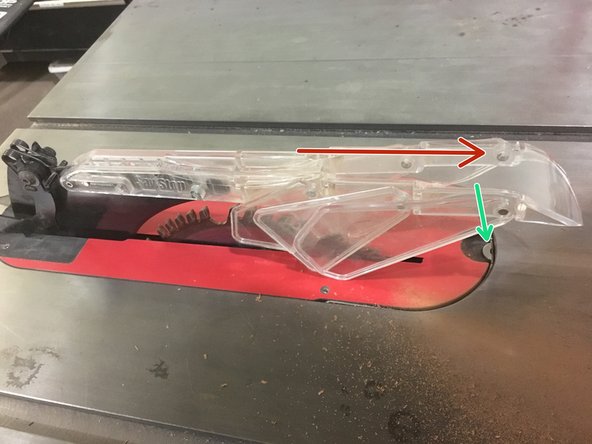
With the plastic guard facing towards the ceiling, insert the pin into the slot on the metal guard.
-
-
-
Rotate the plastic guard down.
-
Pull gently forward on the guard. You should feel slight spring pressure.
-
While pulling forward, move the guard down and release it to latch it in place.
-
Make sure the guard is latched. Don't operate the machine with the guard unlatched.
-
Replace the riving knife in its storage slot on the side of the machine.
-
When finished using the table saw, please always reinstall the full guard assembly.
-