-
-
If you're using a roll of vinyl slide the media holder (in the back of the machine) so that the roll will centered over the holder.
-
-
-
Place the roll of vinyl on the holder with the open edge going up and facing away from the vinyl cutter
-
Make sure that the pinch release roll levers are unlocked (i.e. in the down position)
-
Insert the media under the the pinch rollers through to the front of the machine
-
-
-
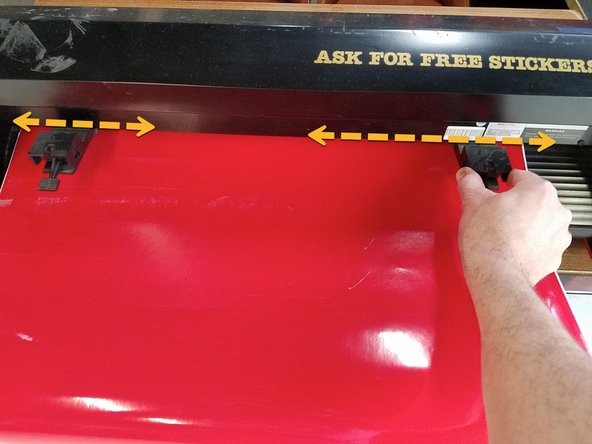
In the back, slide the pinch rollers to about one inch from each edge of the media.
-
Make sure the media is flat and going into the machine as perpendicular as possible.
-
Lock the pinch rollers by lifting the levers up.
-
-
-
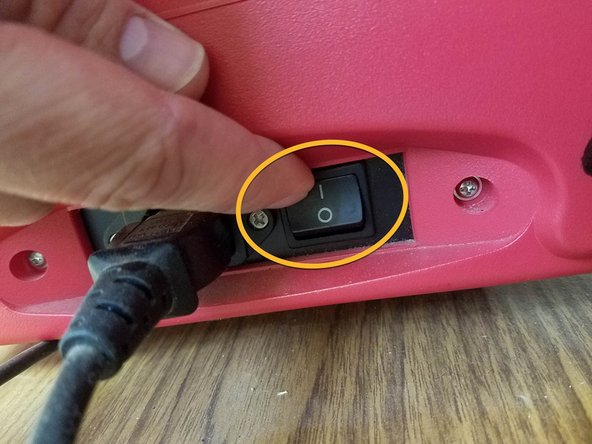
Turn the machine on--the switch is on the left side.
-
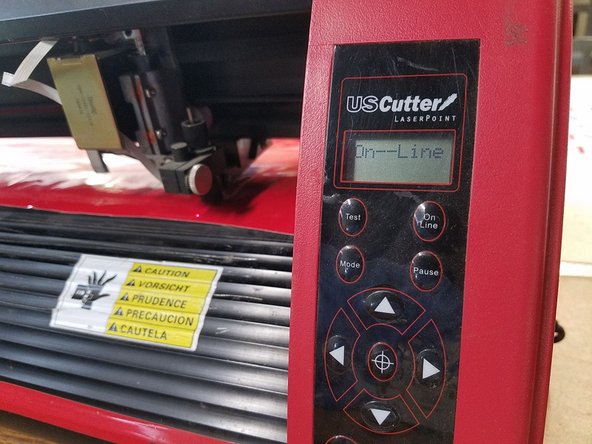
The display will run through startup, then show that it's "On--Line"
-
-
-
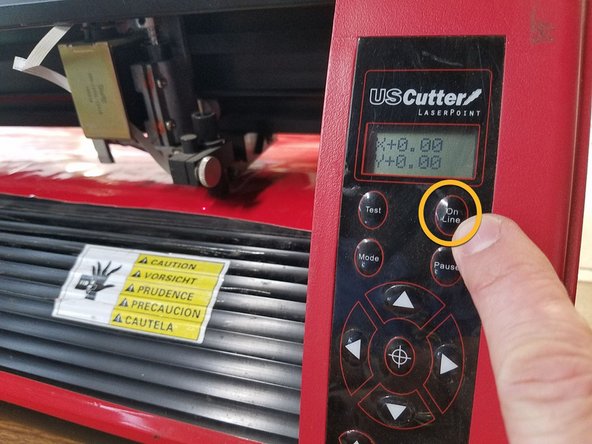
Turn on "Jog Mode" by pressing the "On Line" button once
-
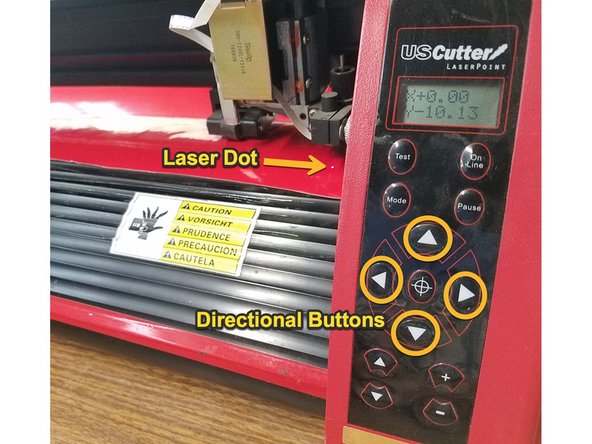
Using the directional buttons, feed the media forwards/backwards and the cutting head left and right until it's where you want to start cutting
-
It's helpful to note the small red laser dot directly under the cutter when aligning the head and media.
-
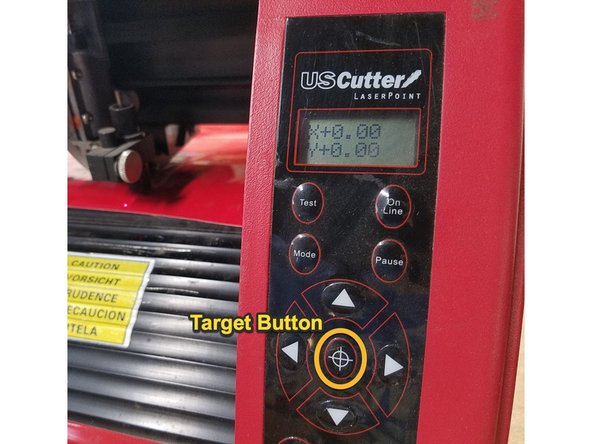
Then press the target button to zero out the starting coordinates
-
Almost done!
Finish Line


