Difficulty
Moderate
Steps
7
Time Required
- 02 - Set up for a Job 7 steps

User-Contributed Guide
This guide is not managed by the site's staff.
Quiz
0
Introduction
One of the most important aspects of operating the CNC safely and successfully is securing the stock material to the bed prior to machining.
-
-
Jog the gantry to the rear of the machine (Y+) so that it is out of the way for preparing the stock.
-
Access jog controls on the "Axes/Spindle" screen of the controller
-
Click the corresponding button to manually jog that axis in that direction.
-
Use "Feedrate +" and "Feedrate -" to change the jog speed. The default is 5%.
-
Press the E-Stop on the main control panel to disable the motors and spindle before entering the work area of the machine.
-
-
-
Review the pros and cons of each method.
-
Vacuum work holding is covered in a 2nd level checkout. Please familiarize yourself with the machine before requesting a separate checkout on this method.
-
-
-
Arrange the top spoil board panels if necessary.
-
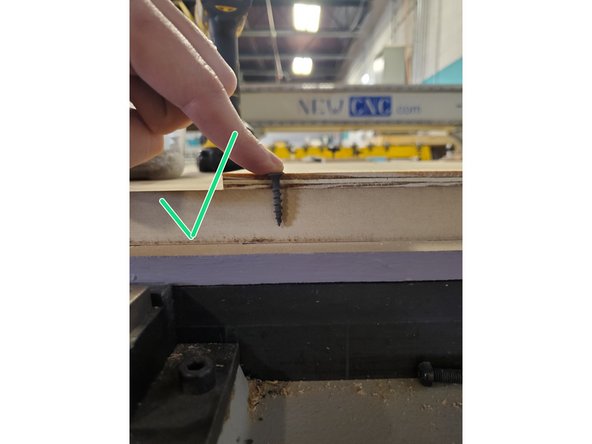
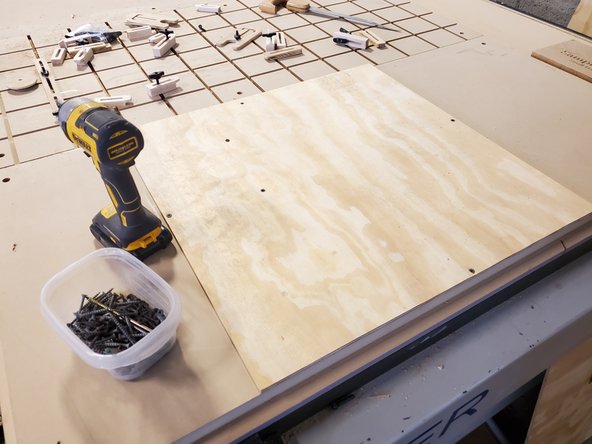
Find screws of the proper length. They should be shorter than the thickness of your stock + 1in.
-
Screws that are too long can damage the vacuum spoil board.
-
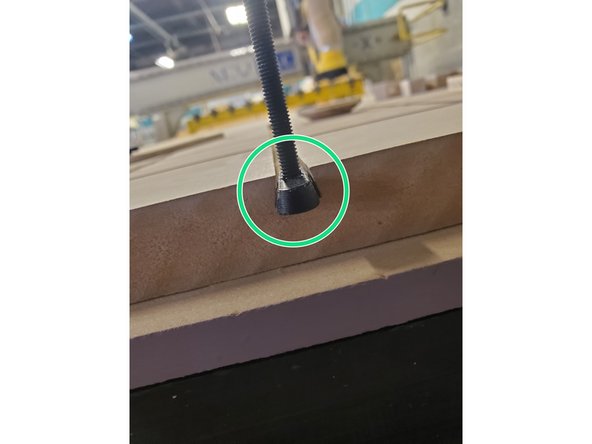
Drill holes larger then the screw threads through your stock, but not into the spoil board.
-
Install screws as needed to hold your material.
-
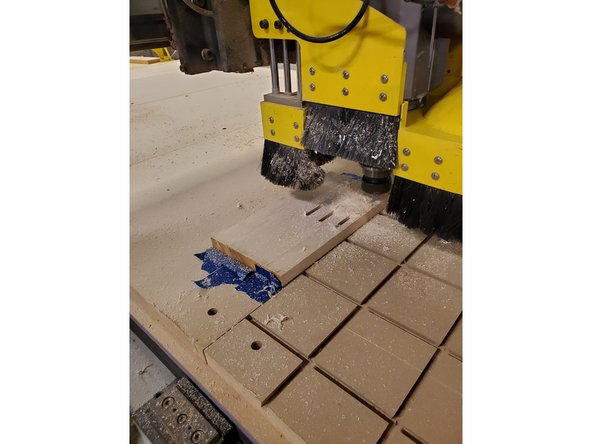
Cutting into a screw will ruin the router bit. Use caution and ensure that the screws are well away from the cutting toolpaths.
-
-
-
Rearrange the top spoil board panels if necessary.
-
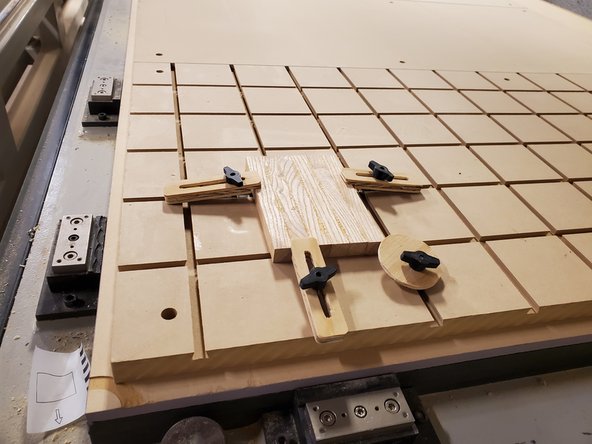
Install clamping hardware by sliding the plastic studs into the dovetail channels where needed.
-
Clamps and hardware can be in the path of your cutting program leading to collision with the cutting bit.
-
-
-
Rearrange top spoil board panels if necessary.
-
Clean dust and debris from stock and corresponding area on the machine.
-
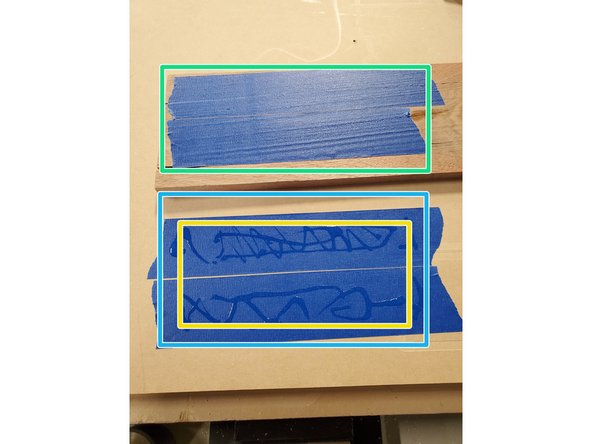
Place strips of tape along bottom face of stock material.
-
Place strips of tape on the spoil board in a matching pattern.
-
Apply superglue to the tape on the machine and then place your stock on top.
-
Place something heavy on the material as a clamp and wait 5 minutes for the glue to set.
-
-
-
Remove or rearrange top spoil board panels as necessary.
-
Clean the vacuum spoil board and your stock thoroughly to remove any dust or debris.
-
Place the material on the spoil board and turn on the vacuum pumps.
-
The vacuum pump valves must be opened on the controller screen in addition to turning the power switches.
-
Switch on the vacuum zone(s) are under your material and off everywhere else.
-
Cover the spoil board around your material with something non-porous to improve the holding power.
-
Test the holding power by pushing on and lifting the material.
-
Vacuum holding power is reduced as you cut through the material. If any part of the stock lifts during cutting, it will lose its hold completely. Downcut or compression bits are recommended when using vacuum hold-down.
-
-
-
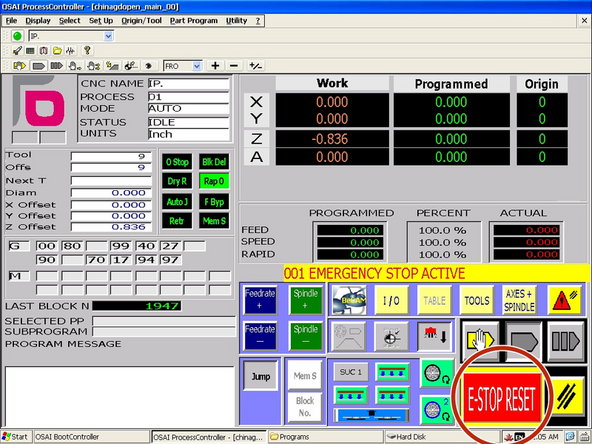
Twist the E-stop clockwise to release the switch.
-
Click "E-Stop Reset."
-