Difficulty
Moderate
Steps
4
Time Required
- 03 - RDWorks Job Setup 4 steps

In Progress
This guide is currently being written. Reload periodically to see the latest changes.

Private
This guide will not appear in search results and can only be viewed by team members!
-
-
Double click the RDworks Icon on the desktop to start RDWorks
-
-
-
Click File -> Import on the menu bar
-
Select your file and click "open"
-
The laser cutter can import dxf and ai files most easily for vector formats. Additional formats are supported for image engraving.
-
-
-
Layers or colors will be separated depending on the file type you are importing. (Refer to documentation for specific programs for details).
-
Check the work panel in the top-right of RD Works to see that your layers imported correctly.
-
Click the "Work" tab if the layers aren't visible.
-
-
-
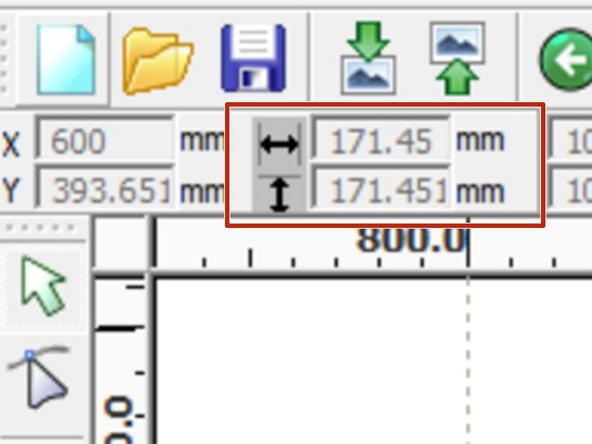
Press Ctrl-A to select all objects.
-
Check that the dimensions displayed in the top-left of RDWorks are correct for you desired output size. Adjust as needed.
-
DXF files can be imported with the wrong units. Checking the overall job dimensions helps prevent surprises.
-