Difficulty
Moderate
Steps
9
Time Required
- Tuff Stuff Station 9 steps

In Progress
This guide is currently being written. Reload periodically to see the latest changes.

User-Contributed Guide
This guide is not managed by the site's staff.
Quiz
0
-
-
Pick or create an image
-
Pick a desired finished size
-
Cut the canvas
-
This needs to be bigger than the frame you use. If your rug image is going to be 2’x4’, it’ll fit in the [what sizes do we have]. Cut your canvas to be 6” wider and taller than the frame you use
-
Mount the frame to the table with two the two clamps dedicated to the Tuff Stuff Area
-
Make sure the metal eye is in the upper left and on the side facing you
-
The frame should be flush with the edge of the table
-
-
-
Starting at the top of the frame, hang the canvas onto the carpet tack strip
-
Make sure you have roughly 3” above the carpet tack strip, and three inches overhanging to the left and right
-
Make sure the fabric is straight. The grain should be parallel to the top of the frame
-
Pull the canvas at the bottom center, and snag it on the bottom carpet tack, then work from center out for the rest
-
Same technique, stretch the canvas on the left and right sides of the frame
-
-
-
Mirror your image!
-
If you’re doing free hand, draw your image, with a sharpie, and skip to Making the Rug
-
There's a projector, but, so far, no computer to connect it to
-
Print the image on the HP plotter behind the front desk. Use painters tape to adhere your image, good side to finish side, and trace the image
-
scaling is DIFFICULT.
-
-
-
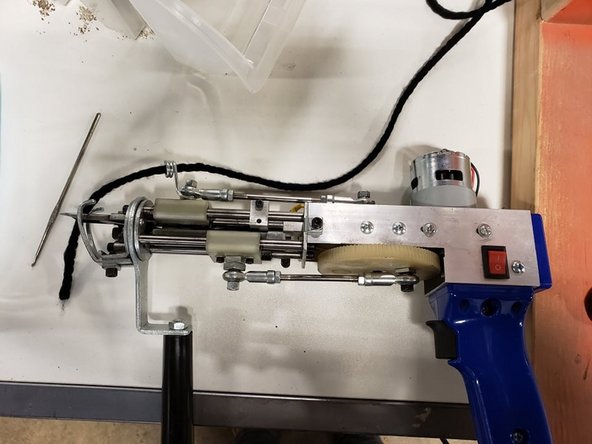
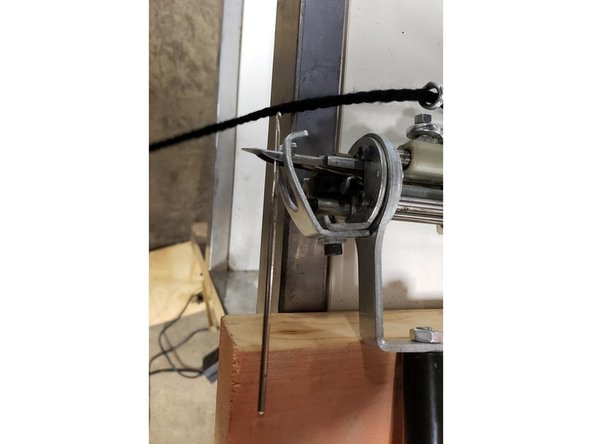
Stab skein onto the floor spindle, or yarn ball in a bowl. Thread through an eye in the frame
-
Thread the yarn, back to front, through the coiled eye on the gun
-
Use the crochet hook to pull the yarn through the eye of the needle
-
-
-
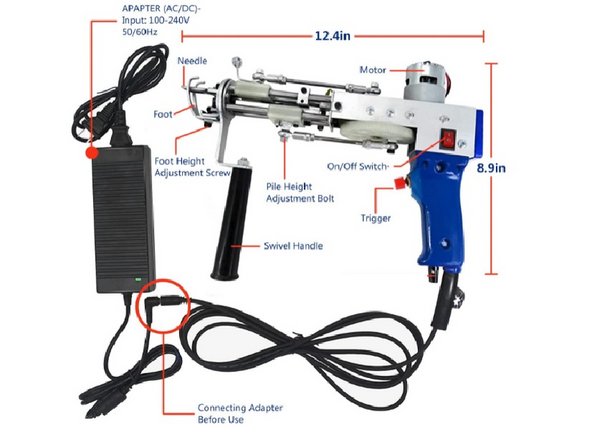
Turn gun on, rocker switch on the grip
-
Press the feet of the gun into the fabric till they don't move anymore. Then push little more
-
Pull the trigger. The gun will feed forward at a pretty consistent speed. It will want to follow the grain of the fabric
-
Just pull away from the fabric when you want to stop tufting
-
Start with detail work, like fine points and lines
-
When filling in an area, going in straight lines tends to work pretty well
-
-
-
Use scissors to trim the tails close to the canvas. Be gentle, you can accidentally pull the yarn free (Jimmy, do we have trimming tools?)
-
Use plastic mud knives to apply carpet adhesive to the tufted areas. Coat thinly and evenly
-
This will take 1-2 days to set/cure. Leave it flat
-
Take the canvas off the frame, use scissors to cut roughly two inches around the rug
-
Cut notches in raw edge about every 3", more on rounded edges [take picture]
-
-
-
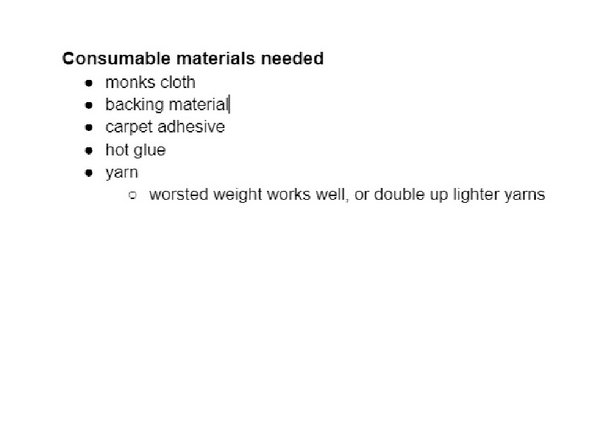
Canvas- The fabric you’re using for your rug base. Usually it’s something with an open weave, like monks cloth or burlap
-
Backing- Fabric of material used to finish the rug. This can be utility fabric, like hobnob, felt, leather
-
Pile- refers to the fibers on the finished side of the rug
-
Skein- Yarn wound in an oblong shape. This is how it often comes from a craft store, like JoAnn
-
Floor spindle- The ugly dowel sticking out of a piece of scrap wood. (Twas a tool made from necessity, please don’t judge harshly)
-