Introduction
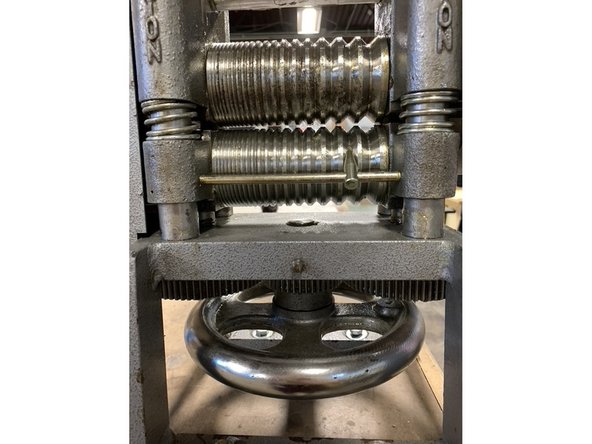
An overview of the Rolling Mill anatomy. What each parts are, and what they do.
Always watch your fingers to make sure they do not get pinched.
-
-
This machine is will produce very strong force between the rollers and gears.
-
Remain clear of all moving parts of the machine whenever movement is being used.
-
Be especially cautious of pinch points.Always stop the machine before entering its work envelope.
-
-
-
spins all the roller attached
-
It will take some effort, but it should not feel too difficult. If it is, widen the gap between the rollers using the wheel at top (next step).
-
-
-
Adjusts the space between the top flat rollers
-
Use the circular ruler to keep track of how far to turn
-
If the handle is too difficult to turn, adjust the size of the opening with this.
-
The more you move the wheel between rolls (more ticks), the more difficult turning the handle will be
-
-
-
The big rollers on the top for flattening metal pieces into a thin(ner) sheet
-
Only soft metals allowed (copper, silver, etc). DO NOT USE STEEL (or other hard metals equivalent) as it will scar the rollers
-
Watch your fingers as you feed in the metal
-
-
-
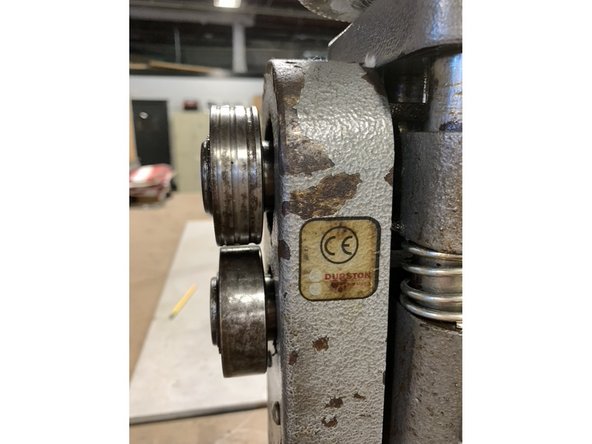
Often used to adjust the size of a rod/stick shaped metal (vs. sheet)
-
rolls with the main handle at the same time as the top flat rollers
-
the pointer helps to keep track of the ridge size as you work through a piece
-
Watch your fingers as you feed your metal piece
-
DO NOT USE WITH STEEL (or other hard metal equivalent)
-
-
-
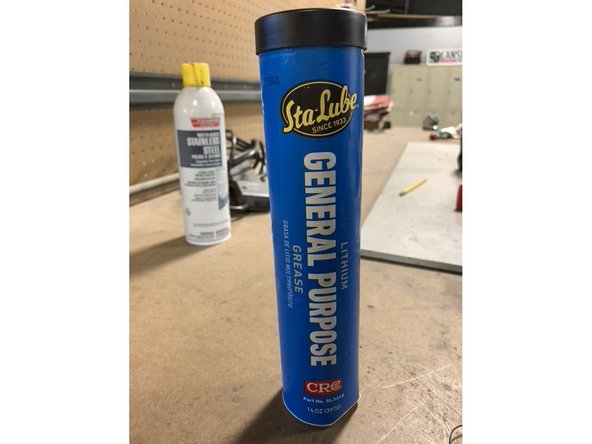
Tube of industrial lubricant that lives by the rolling mill
-
Use on the rollers to ensure smooth rolling every several rolls
-
LITTLE BIT GOES A LONG WAY
-


