Difficulty
Easy
Steps
8
Time Required
- How to Use The Prusa MK4S 8 steps

User-Contributed Guide
This guide is not managed by the site's staff.
Quiz
0
-
-
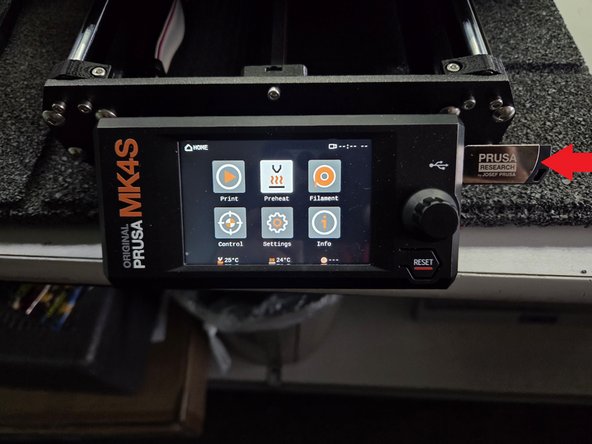
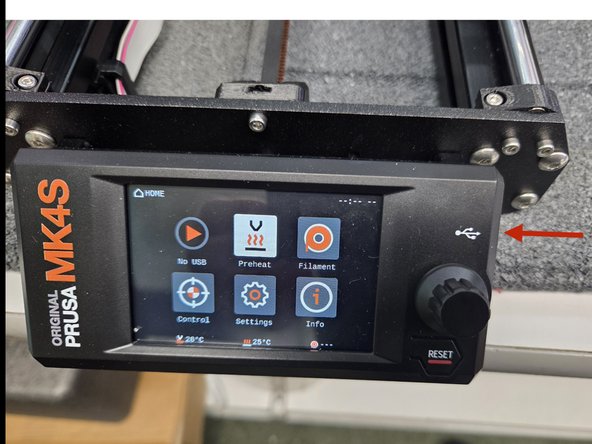
The first step is making sure that the MK4S isn't already printing someone else's project first. It can be identified by its face plate highlighted in the first image.
-
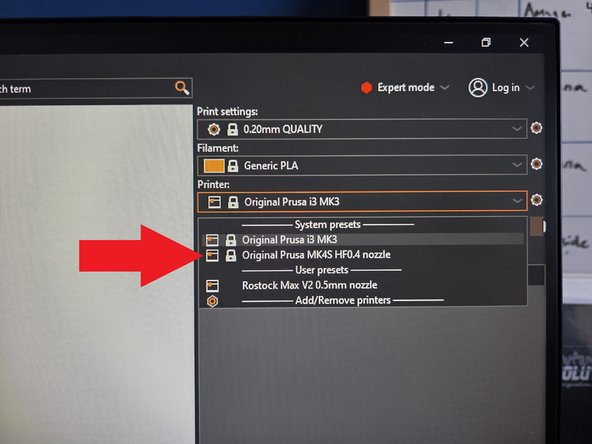
The second step is make sure that you have the correct printer selected in Prusa Slicer. Select Original Prusa MK4S HF0.4 nozzle
-
The third step is to unplug the USB stick and put your GCode onto it. There are details on how to do this in our Prusa Slicer tutorial. Do not reinsert it yet.
-
-
-
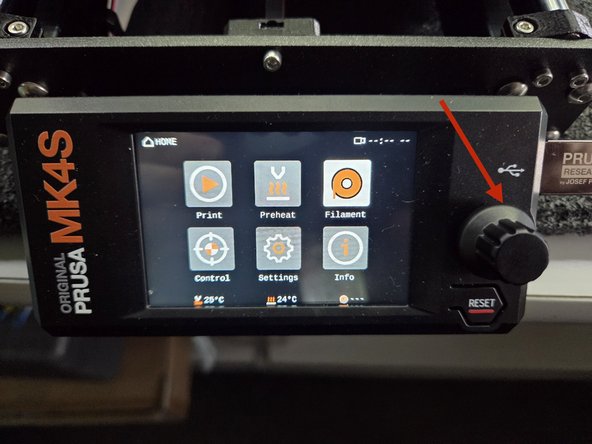
Rotate the Control knob clockwise until filament is highlighted, then press it in.
-
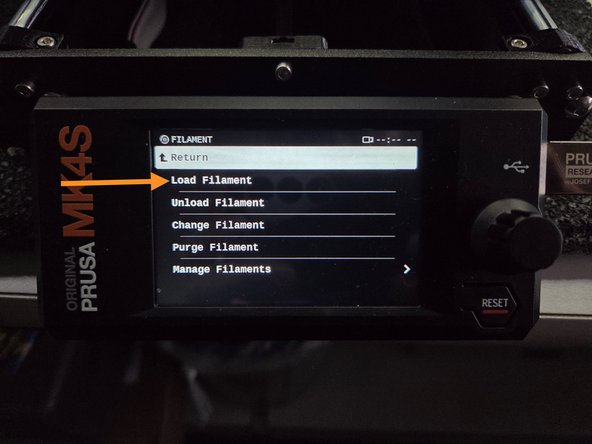
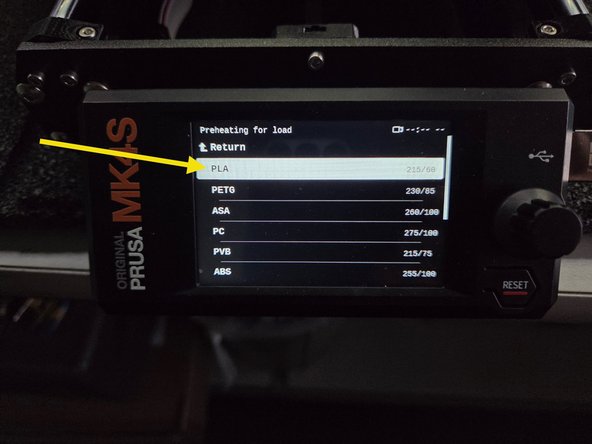
When you do so there should be a screen that matches the second image. Rotate the control knob clock wise to highlight Load filament, and press the knob.
-
Once more rotate the control knob clockwise until PLA is highlighted and press it in to select the option.
-
-
-
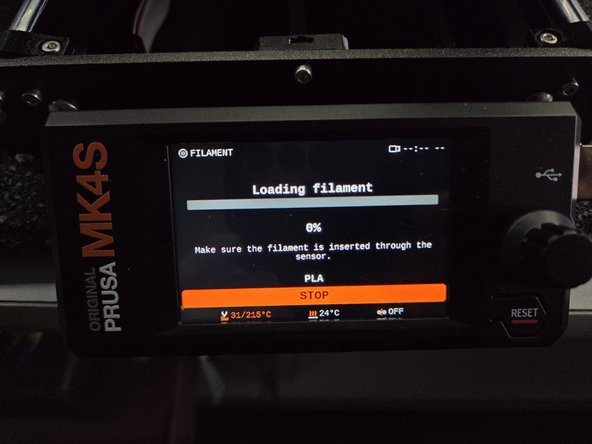
The screen should look the same as the first image. Noticeably only showing a stop button.
-
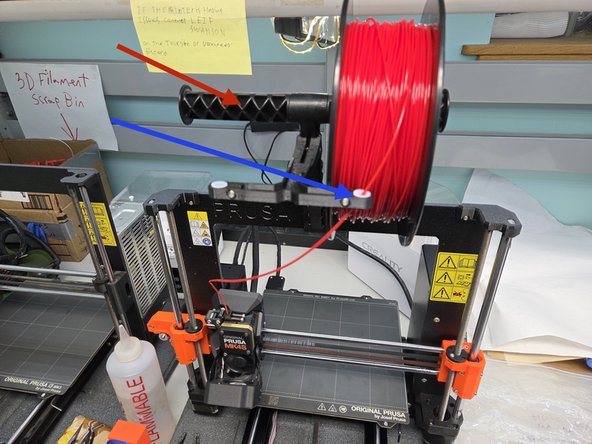
Take the filament and put it on the spool holder, making sure that it goes over the spool, and is guided through the filament guide.
-
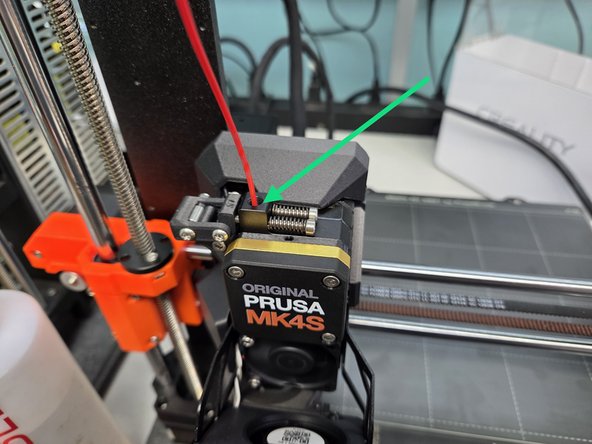
Guide the filament into the filament hole and press it in far enough that the machine beeps. Press the control knob while holding the filament in place, and the machine should handle the rest of the loading process by itself.
-
-
-
Reinsert the USB stick that was unplugged at the beginning of this tutorial.
-
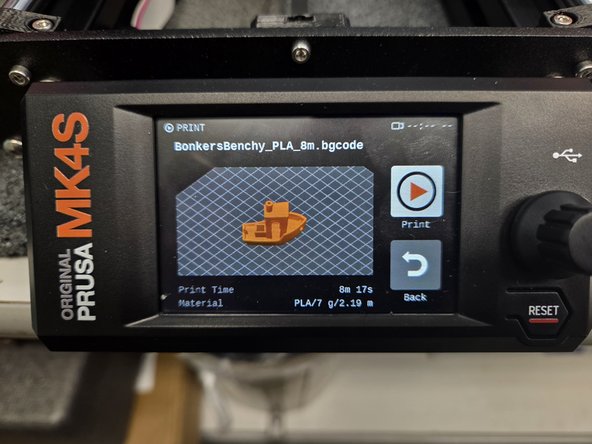
A screen showing your 3D print should appear, a benchy is an example in the second image.
-
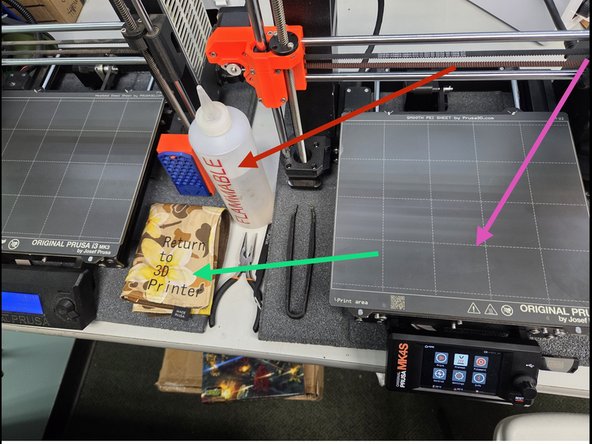
Before you press print please clean the build plate with the Isopropyl Alcohol and the microfiber rag.
-
Next, press the control knob to start the 3D print.
-
-
-
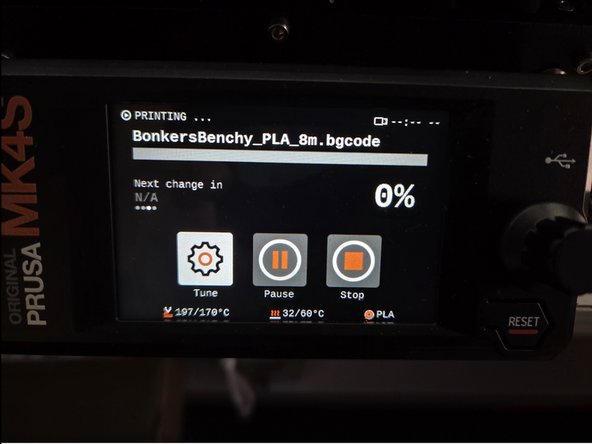
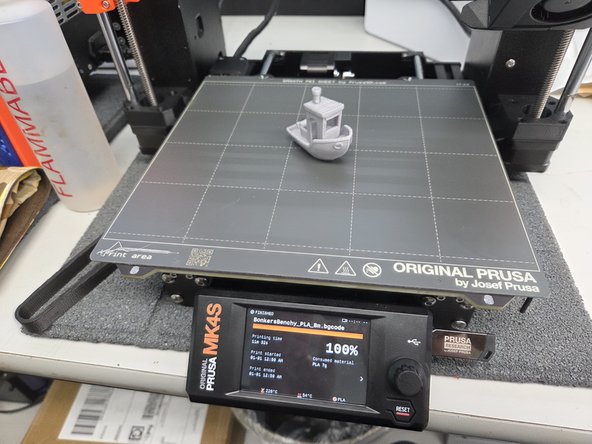
The 3D printer will display a screen like the first image, which displays information about the print. Most importantly how far along the print is displayed as a percentage.
-
The 3D printer will automatically start printing when it reaches the correct temperature, by cleaning its nozzle and tapping the build plate in several areas to automatically level itself
-
Ensure that you watch the first couple layers in case anything goes wrong, usually poor bed adhesion causes problems at this point.
-
-
-
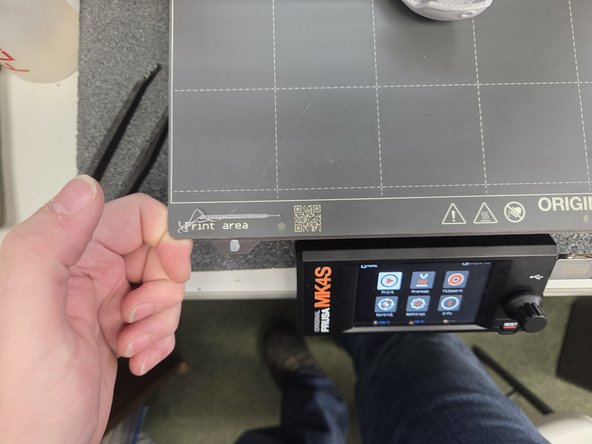
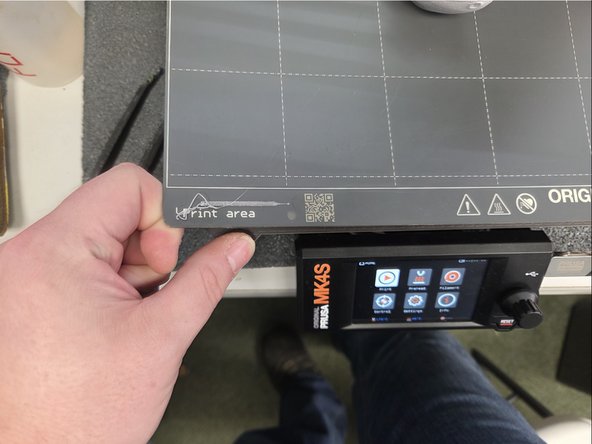
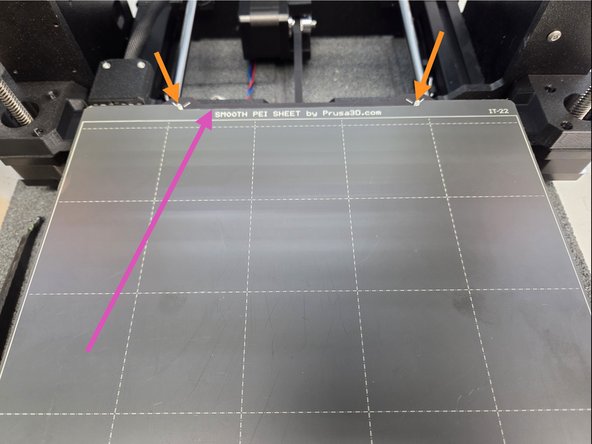
Remove the build plate from the printer. This can be done by positioning your index fingers like the first image, and positioning your thumbs over thumb print logos like the second image.
-
By pressing down with your thumbs on both sides the build plate will simply pop up.
-
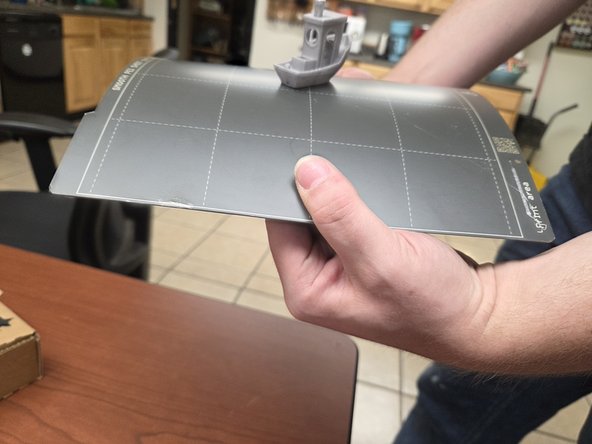
Most 3D prints will come off of the build plate with a little pressure, but if a print is being stubborn flexing the build plate like the third image will usually remove it.
-
-
-
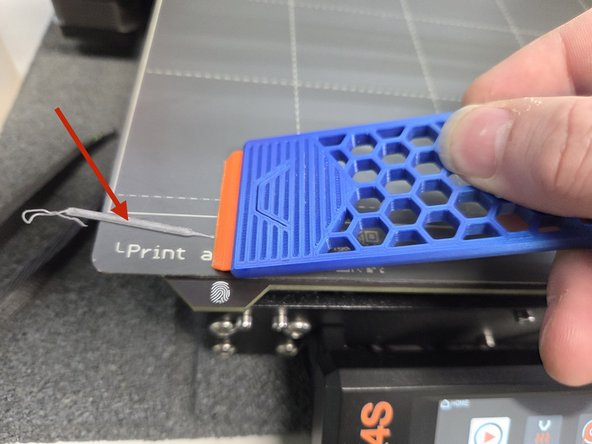
If a print is particularly small using a bed scraper like the first image may be the best option.
-
When removing the print from the build plate don't forget to remove the nozzle cleaning test piece, as leaving it on the build plate may cause damage to the printer.
-
Remember to return the build plate to the 3d printer aligning the two screws at the end with the cutout on the back of the build plate.
-
-
-
You may start basking in glory as you have successfully 3D printed.
-