Difficulty
Moderate
Steps
10
Time Required
- How to Use Rostock Max V2 10 steps

In Progress
This guide is currently being written. Reload periodically to see the latest changes.

User-Contributed Guide
This guide is not managed by the site's staff.
Quiz
0
-
-
The First step is confirming that the Rostock Max V2 isn't already printing someone else's project first. The Rostock Max V2 can be identified by its tall size and white coloration.
-
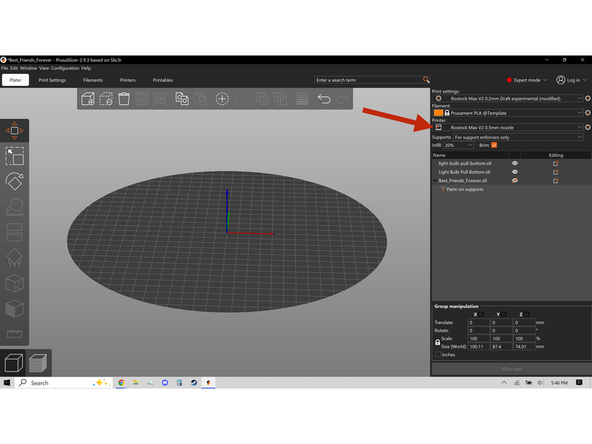
The second step is make sure you have the correct printer selected in Prusa Slicer, an easy way to confirm this is checking if the build plate is circular.
-
There will be detailed steps on how to do this in the revised Prusa slicer guide.
-
-
-
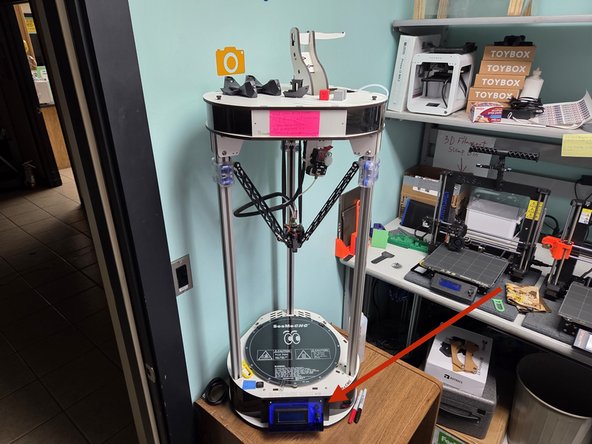
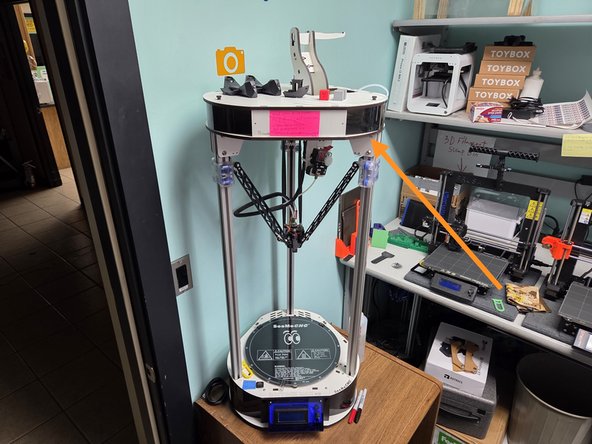
The Rostock Max V2 can be identified by its large vertical size and white coloration. Its control panel is located near the bottom of the machine.
-
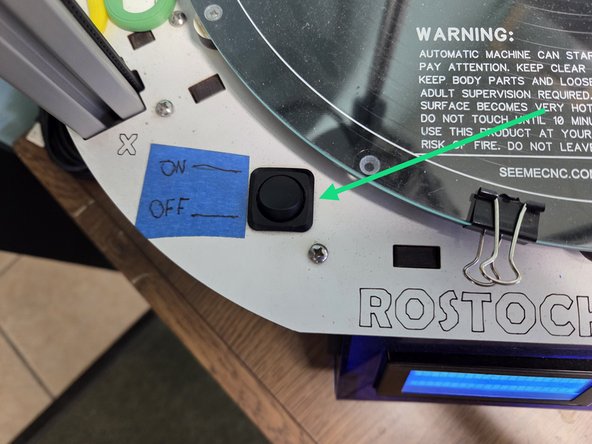
Its power switch is located above and to the left of the control panel.
-
-
-
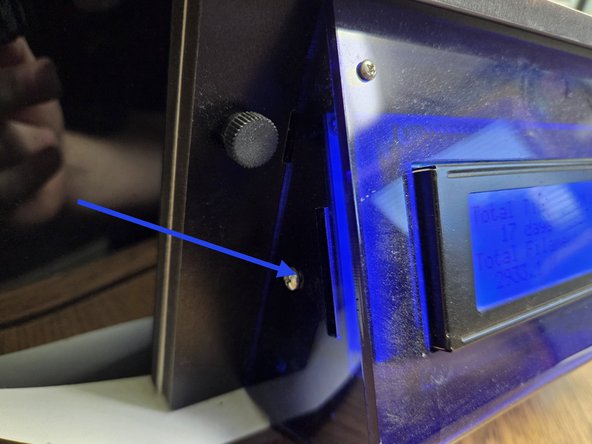
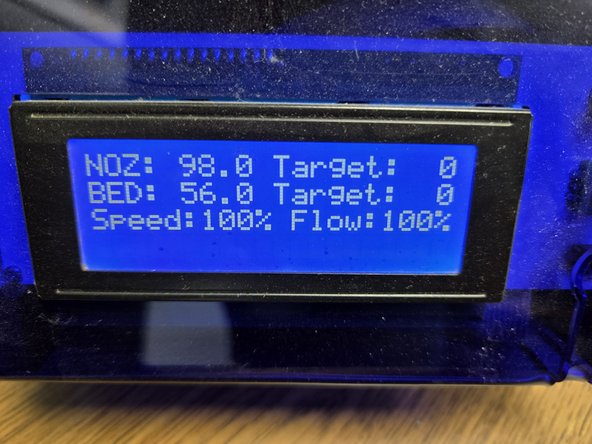
The screen displays useful information like the nozzle temperature, heat bed temperature, and any errors the machine is currently experiencing.
-
The control knob is used to operate the menus on the printer.
-
The reset button functions as both an emergency stop and to clear any malfunctions or errors the printer experiences.
-
The second image shows where the printers SD card is, it should be removed at this step.
-
-
-
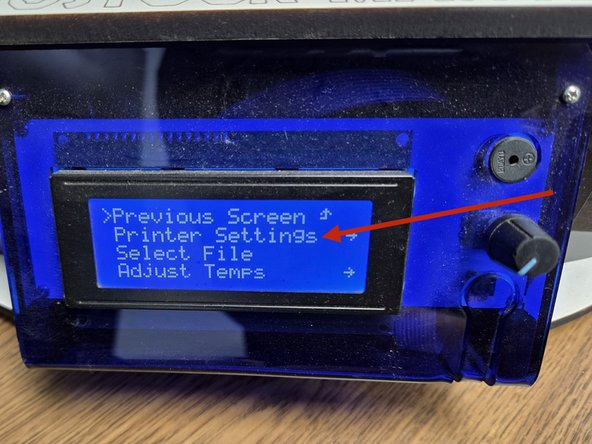
After pressing in the control knob, the screen should look like the first image.
-
Rotate the control knob counter clockwise until printer settings is highlighted and press the control knob in.
-
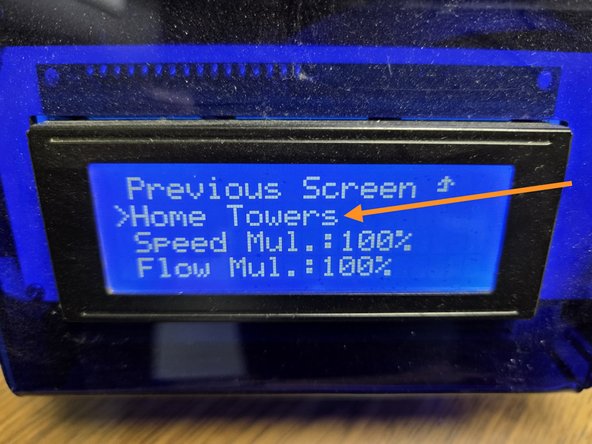
The screen should now look like the second image. Rotate the control knob counter clockwise until home towers is selected and press it in. The printer will now home the towers.
-
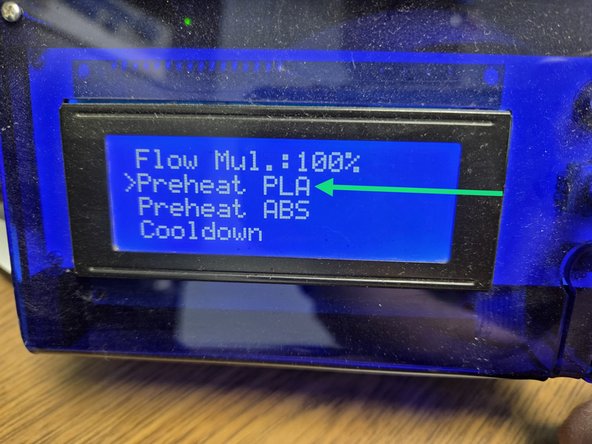
After the printer has homed itself, continue to rotate the control knob until preheat PLA is selected, and press the control knob in. The machine will beep when finished heating.
-
-
-
If you are not as vertically blessed as some people it may be a good idea to acquire a step stool to help with this step.
-
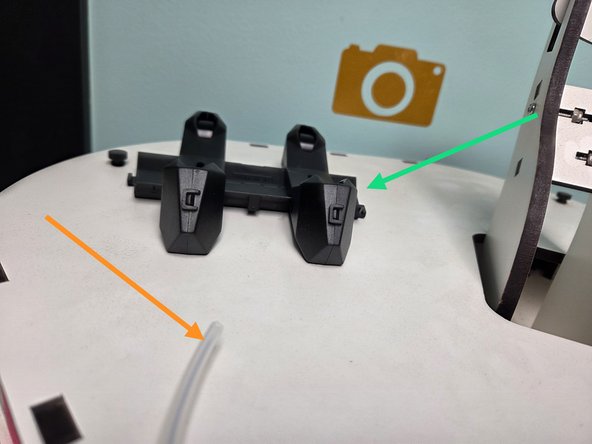
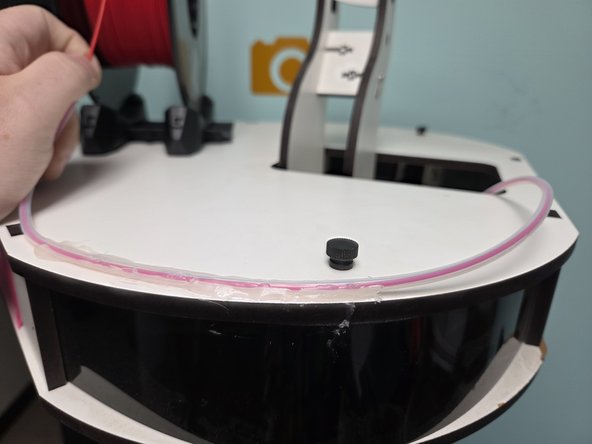
On the very top of the machine there is a Universal spool holder, Place your selected filament on it with the end of the filament going under the spool.
-
There is also a section of PTFE tubing hot glued to the top of the machine, feed the end of the filament through there so that it looks like the second image.
-
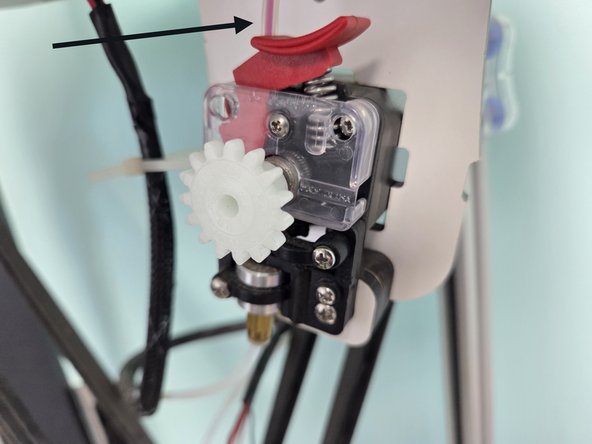
Continue to feed filament through the tubing until it reaches the tensioner, like the third image.
-
-
-
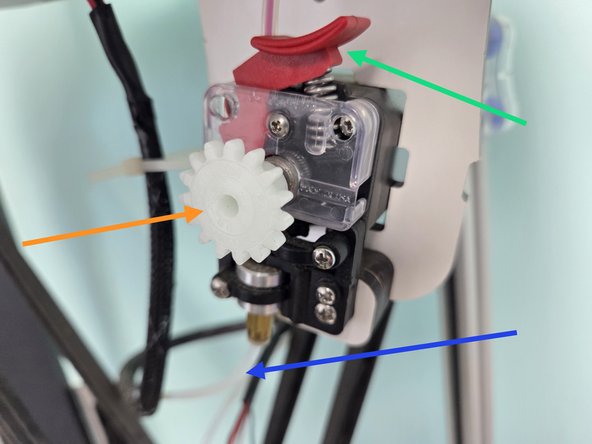
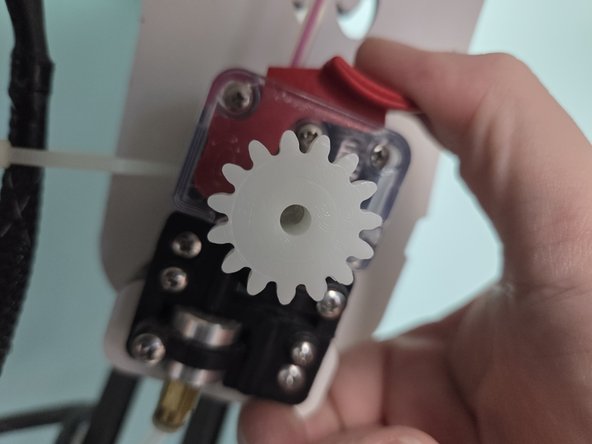
To continue to feed filament hold down the tension lever, like the second image, and keep feeding filament until its past the tension lever.
-
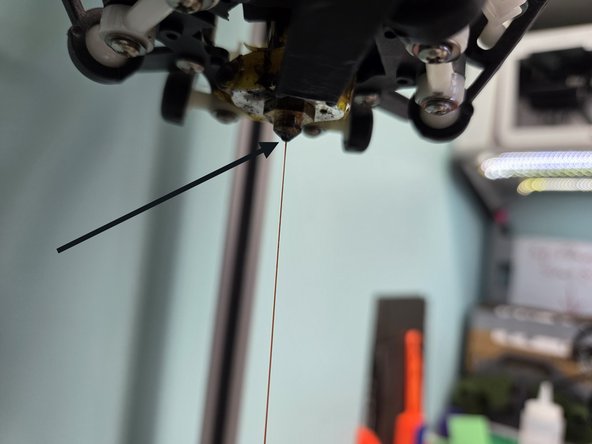
After the filament is past the tension lever release it and crank the tensioner knob counter clock wise until filament reaches the nozzle. The filament will be visible in the PTFE Tubing that leads to the hotend.
-
Continue to feed filament out of the nozzle until it is the same color as the filament you are feeding in. This is done because some of the previous filament used by the printer is left in the nozzle and could discolor part of your 3D print.
-
Don't forget to clear the build plate of the purged filament.
-
-
-
With filament loaded and the machine preheated, its time to start your 3D print. Reinsert the SD Card into the slot to the left of the control panel.
-
Press the control Knob and rotate it counter clockwise to Select File and press it in.
-
The screen should now match the first image. Rotate the image counter clockwise until your GCode file is selected and press in the control knob to start your 3D print.
-
-
-
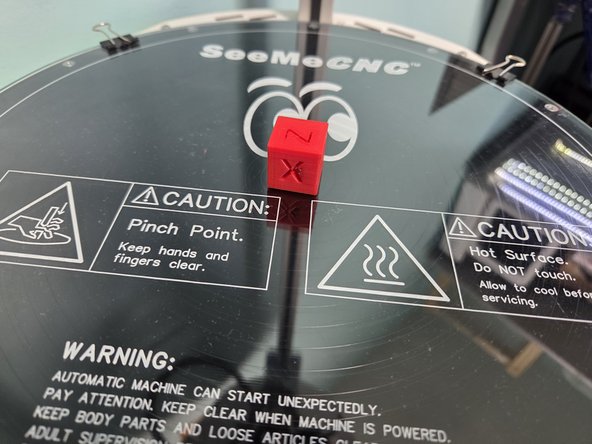
Make sure you watch the first couple layers for print errors, and after some time your 3D print will be done, looking like the first image. An XYZ test cube is being used here as an example.
-
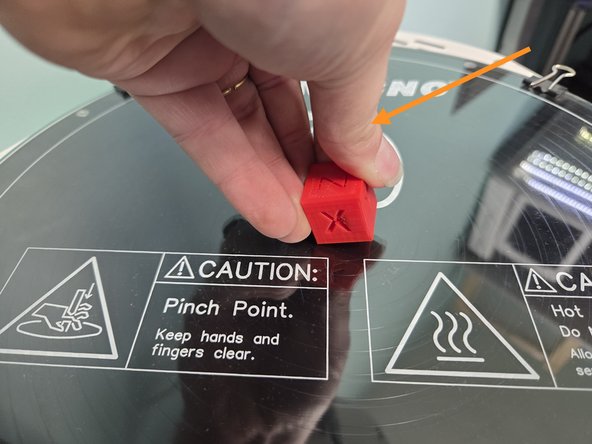
Your print will be attached to the glass build plate, and can be removed with either your hands like the second image, or a bed scraper if that isn't possible, like the third image.
-
-
-
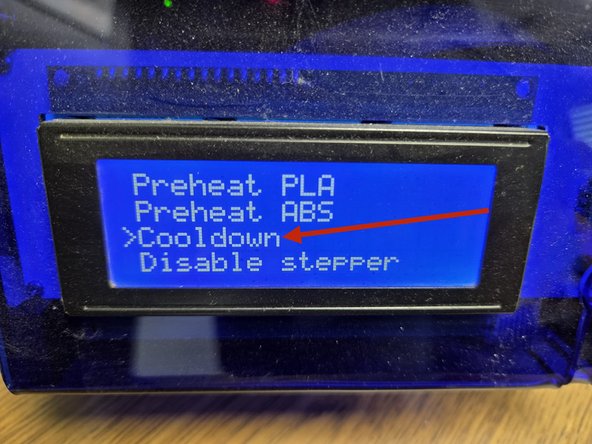
Before powering off the printer, press the control Knob and rotate it until printer settings is selected, then continue to rotate the control knob until cool down is selected.
-
Using the control knob, navigate to the previous screen settings until it matches the second image. Wait until the nozzle and bed temperatures are lower than 28 degrees Celsius, then power the machine off.
-
-
-
The Final Step is bask in glory as you have successfully 3D printed.
-
Please note that the slicer settings for the Rostock max V2 are currently experimental and if you notice consistent issues please contact the 3D printing department manager.
-