Introduction
The check in process can set the tone for the entire interaction a new class participant has with our makerspace. Try to put our best foot forward!
In particular:
- Answer any questions they may have.
- Let them know that we'll be giving a tour as part of their class.
- Let them know about the hospitality aspects of the space (soda, coffee, where the bathrooms are, etc.)
- Ask where they heard about the class.
-
-
If the guest has a ticket, you can scan their ticket using the iPad's camera.
-
If the user doesn't have a ticket find their name in the list of attendees and slide to the right to check them in.
-
We don't usually require participants bring paper tickets for classes or events.
-
-
-
Participants (unless they are members) need to sign the waiver each time they take a class.
-
They may read and sign the waiver on the tablet, or they may scan the QR code and complete the waiver on their phone.
-
Ask the participant what name they would prefer for a name badge.
-
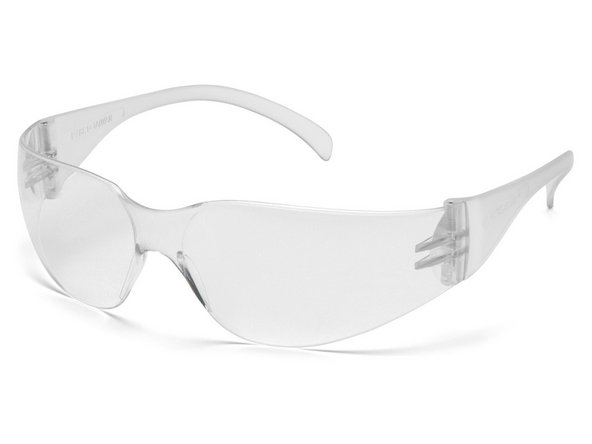
Make note of if the participant is wearing glasses (to select the appropriate safety eyewear)
-
-
-
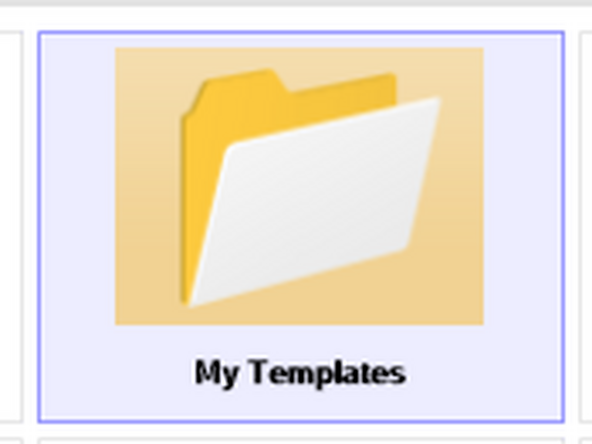
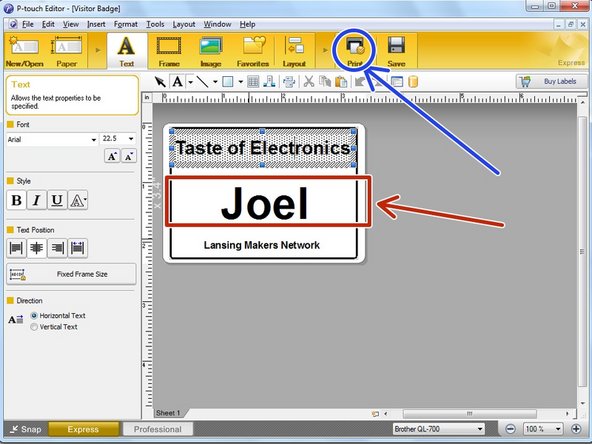
Name badges are created using the P-touch Editor application. Open the application from the Start menu, double click the My Templates folder and select the 4" name badge template.
-
Edit the student's name on the name badge template. Make sure the class name is correct as well.
-
Click "Print" to print the badge.
-
-
-
Give the student safety glasses and their badge
-
Mention:
-
Where the bathrooms are located.
-
That there is soda and coffee in the kitchenette.
-
How long it will be until we get started.
-
That we can offer a tour after class if they're interested in seeing the rest of the space.
-