
-
-
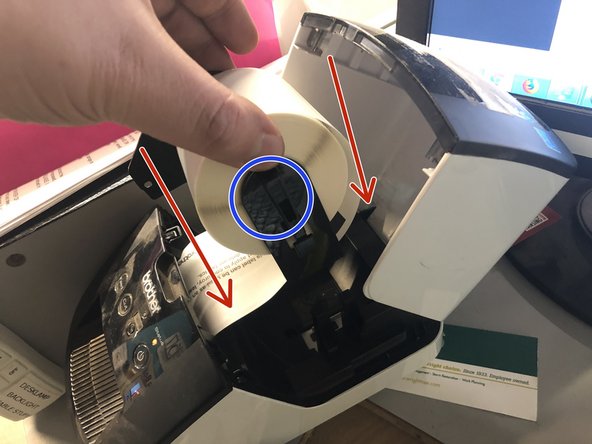
On the top of the printer, note the thumb hole in the lid and lift it up and toward the back of the printer.
-
-
-
Install the new label roll in the same manner as you removed the old one.
-
There is a plastic guide that the roll carrier slides into.
-
-
-
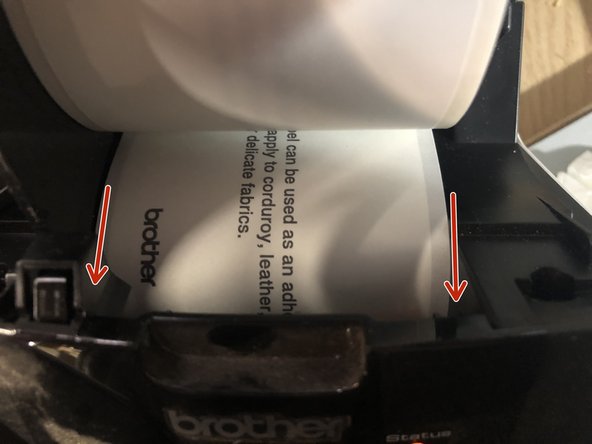
Close the lid.
-
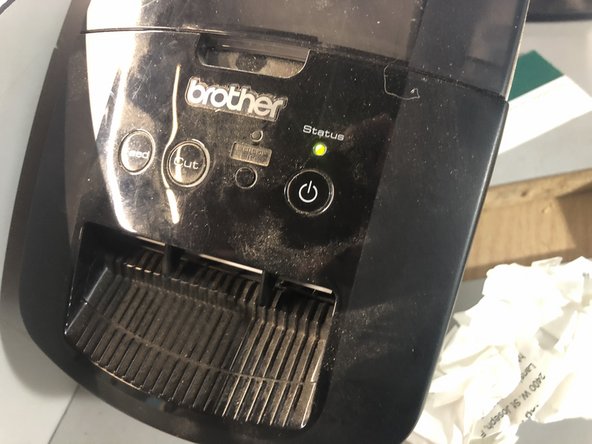
The printer should feed the label to the appropriate starting point.
-
If the printer ejects a full label you can either press "Cut" and discard that label, or open the lid and pull the label back onto the roll, this time not feeding the label roll into the machine quite as far.
-


Almost done!
Finish Line