Difficulty
Moderate
Steps
10
Time Required
- Basic Stained Glass Walkthrough 10 steps

User-Contributed Guide
This guide is not managed by the site's staff.
Quiz
0
-
-
Safety Equipment: Eye Protection, Fume Extractor, Gloves or Cut Protection if desired. (Provided)
-
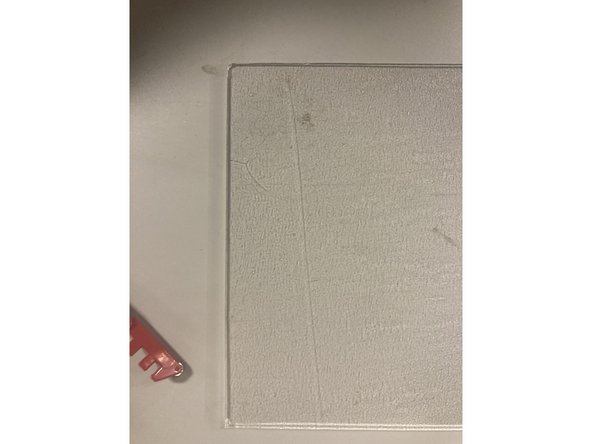
Cleaned Sheet Glass (Consumable)
-
A pattern and a way to mark (oil pencil or sharpie) (Consumable)
-
Solder (Consumable) and Soldering Iron (Provided)
-
Flux and Flux Brush (Provided)
-
Running and Grozing Pliers (Provided)
-
Copper Foil (Consumable) and Plastic Fid (Provided)
-
Grinder and Ring Saw (Provided)
-
-
-
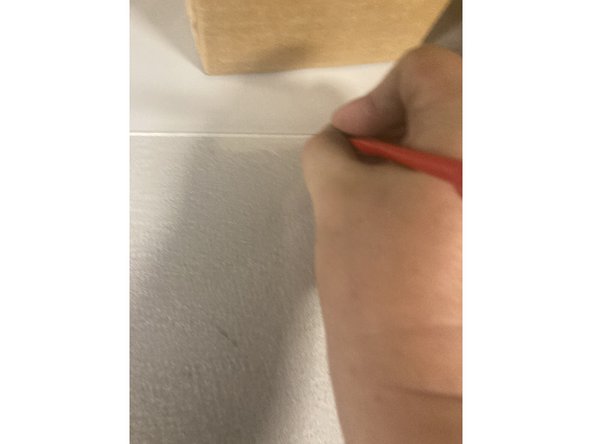
Choose your method of transferring your pattern to glass. In all cases, an oil pencil or sharpie marker work best to make marks.
-
Trace over a light box (light box found in Textiles Room)
-
Cut the pattern out of vinyl using the vinyl cutter and transfer to glass.
-
If using sharpie, you can use chapstick over the marks before using the grinder or saw to create a water barrier and avoid the marks washing off.
-
-
-
Wear your eye protection for this part!
-
Before each working session, use a small amount of oil such as WD40 on the cutting wheel of the glass cutting tool.
-
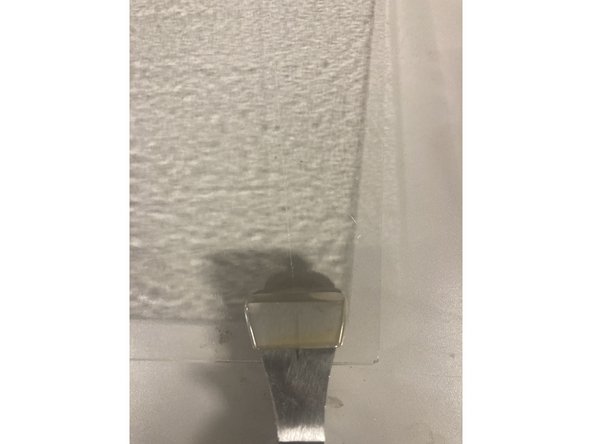
Following just outside of the mark you have made, use the glass cutting tool to score a line across the glass. Use medium, even pressure and a smooth motion.
-
You will be grinding the glass after this step, so it is best to leave some material just outside of your final desired shape.
-
The harder you push the more glass shards you will create, which is to be avoided.
-
Avoid stopping and starting mid-score.
-
While it is possible to go around curves, outside curves are more likely to cut cleanly than inside curves. You may need to make more than one cut to get around a shape.
-
-
-
Wear your eye protection for this part!
-
There are three ways of seperating the glass that you have just scored. 1. By Hand. 2. Using Running Pliers. 3. Using Grozer Pliers.
-
1. By Hand - Use this method when working with larger pieces.
-
Holding the glass on either side of the score mark, with your thumbs on top of the glass, tip your hands away from each other with medium pressure.
-
2. Using Running Pliers - Use this method most of the time.
-
Running Pliers have a slight bend in them as well as a mark on the convex side that show you were to place them in relation to the score mark. Place the mark on the running pliers over the score mark and gently squeeze the pliers until the glass has broken along the line.
-
3. Grozer Pliers - Use this method when the pieces you are breaking are 1/4 inch or less
-
Grozer Pliers have two jaws, and the one on top changes how it can be used. Flat jaw on top is for breaking along a score, curved jaw up is for grozing/nibbling. Grasp the glass near the score line and snap down to separate the glass.
-
-
-
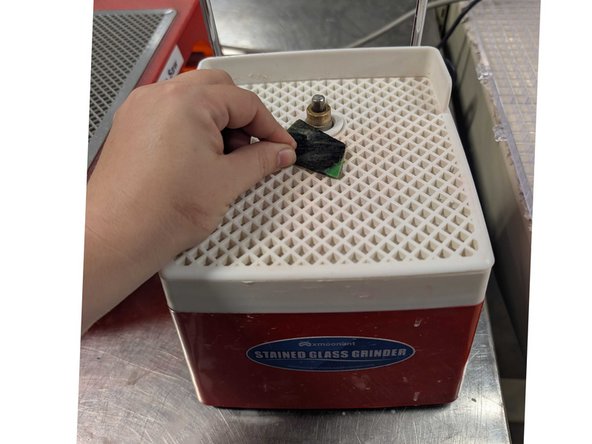
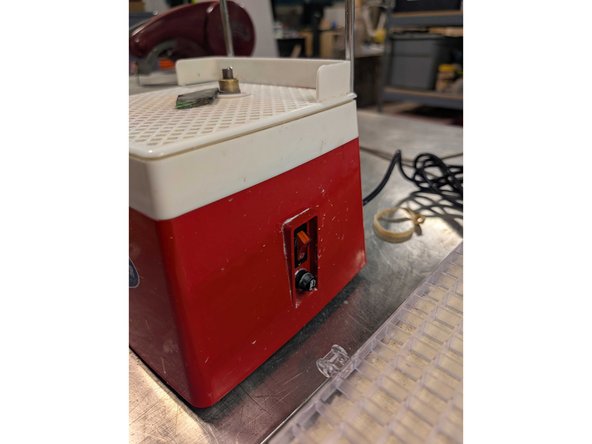
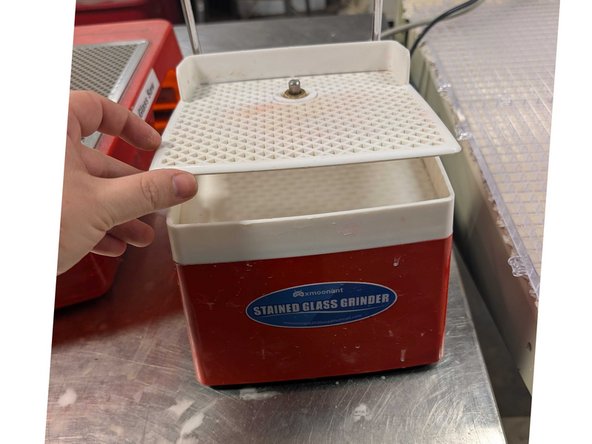
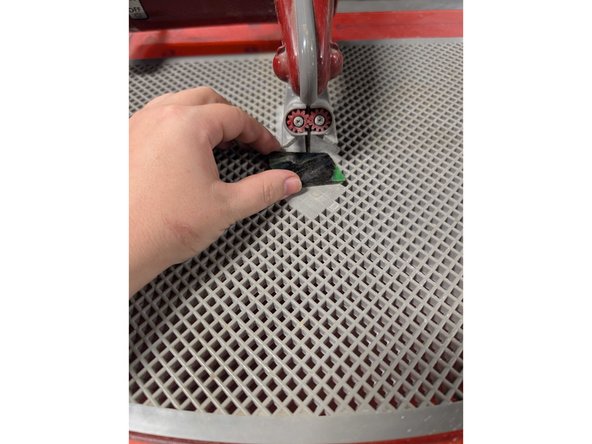
Using the grinder, you can smooth sharp edges on your glass pieces as well refine the shapes and how pieces fit together. A nicely ground edge also holds the copper foil more nicely in the next step.
-
The grinder bit is embedded with pieces of diamond. It cuts hard things quickly and doesn't cut soft things. For instance, it is unlikely to harm your fingertips but may grind your fingernail. In any case, do not touch the bit while it is moving.
-
Before using, be sure that the grinder is clean and full to the mark of water beneath the white grate. Do this by lifting up the grate from the corners and adding water if needed.
-
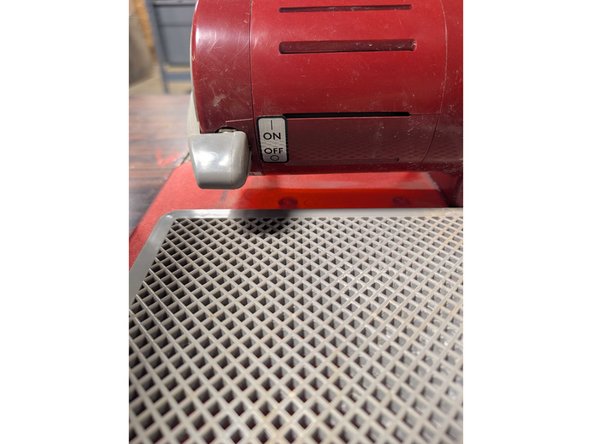
Turn the machine on using the switch on the right hand side.
-
Hold your piece against the grinder gently and move slowly, touching each surface with the bit. You may need to spend more time in some areas depending on how far away the mark is.
-
Dry off the edge of the piece using paper towel to see if the edge is frosted. If so, you have completed grinding. If not, it needs more. Turn off the grinder when complete.
-
If the grinder is not grinding well or is taking a very long time, it may need a replacement bit. Talk to the area manager to get it replaced.
-
The grinder will need cleaning after every work session. See the Cleanup page for instructions.
-
-
-
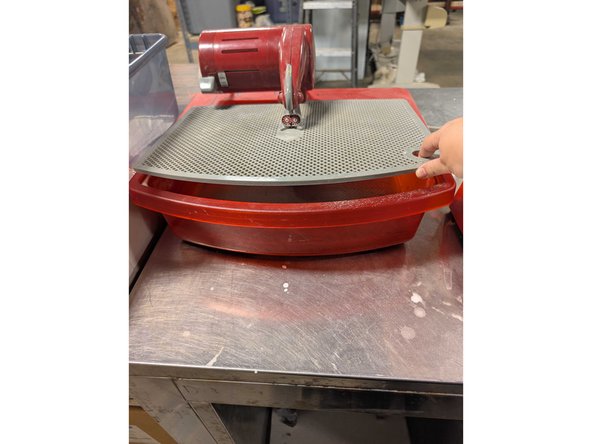
The ring saw works a little like a scroll saw for wood. It allows you to cut shapes that wouldn't be possible using traditional breaking methods.
-
The saw is embedded with pieces of diamond. It cuts hard things quickly and doesn't cut soft things. For instance, it is unlikely to harm your fingertips but may grind your fingernail. In any case, do not touch the saw while it is moving.
-
Before using, be sure that the grinder is clean and full to the mark of water beneath the grate. Do this by lifting up the grate from the corners and adding water if needed.
-
Turn on the machine using the switch at the top left of the tool.
-
Hold your piece against the moving saw with gentle pressure. Allow the cut to happen slowly rather than pushing hard to make it go fast as this may shatter the saw.
-
Follow your line until complete. Turn off the saw.
-
The Ring Saw will need cleaning after every work session. See the Cleanup page for instructions.
-
-
-
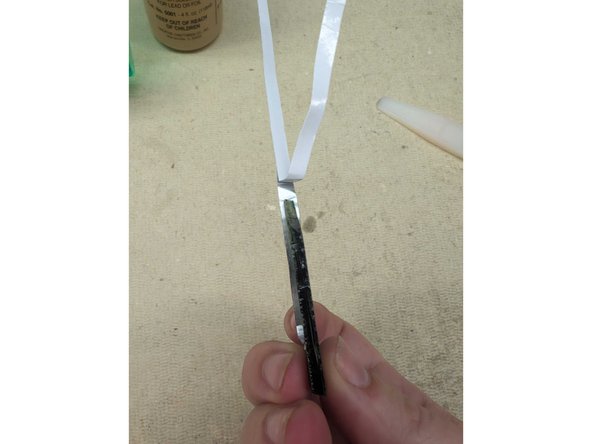
Solder will not stick directly to glass, so we use self-adheisive copper foil around the outside of each piece that can hold solder in order to join pieces together.
-
Peel the backing off a piece of copper foil, position the glass so the edge is centered, and stick the foil to the full circumference of your piece of glass. Cut the foil at the end.
-
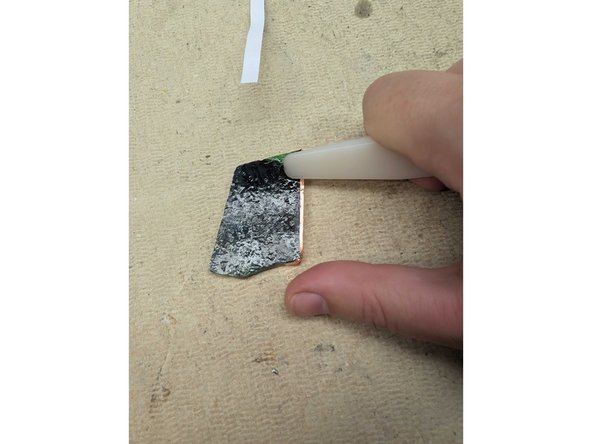
Using your fingers or a fid, first press the foil to the edges of the glass all the way around the piece. Then work the parts that are hanging over the edges onto the faces of the glass.
-
Smooth any wrinkles by burnishing with a fid or roller until you are left with a smooth clean border of glass.
-
Repeat for all pieces of glass.
-
Tip: If needed, you can use a craft knife to cut away parts of the foil on the faces that is are too far in.
-
-
-
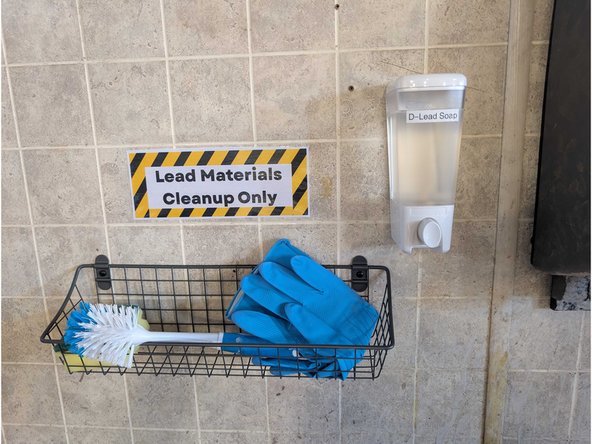
Solder contains lead. Do not eat or drink until you have washed your hands with a lead-removal soap.
-
Flux fumes are not good to inhale. Use a fume extractor. The soldering iron tip is hot.
-
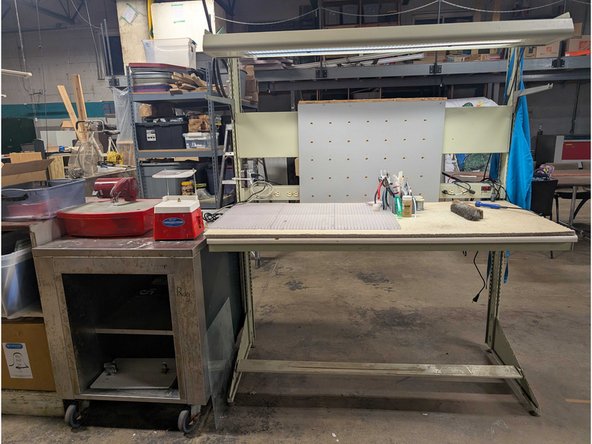
Lay out your cut and foiled glass pieces in their final configuration on the homasote board portion of the bench (the right hand side). Homasote board is heat-resistant and can be soldered on directly.
-
Using flux and the flux brush, apply flux to all portions of foil.
-
With a plugged in Soldering Iron (temperature between 370-410F) and spool of solder, place a dab of solder at each junction to hold the piece together first.
-
Then, using the solder and soldering iron, flow solder across all joins on the piece. Once complete, flow solder around the edge of the piece.
-
Turn piece over and repeat tack soldering and flow soldering until the piece is complete.
-
Be sure to clean the tip of the soldering iron at the end of each session and unplug.
-
-
-
You may want to add wire or chain to your piece in order to hang it. Do this with solder along joints rather than in the middle of a piece of glass.
-
Once soldered, you will want to wash your piece to remove any extra flux sitting on the surface. Use the dedicated scrub brush on the lead materials shelf above the slop-sink in the woodshop for this purpose.
-
Once clean you can choose to use a patina on the solder to change the color.
-
-
-
At the end of each session, the following cleanup steps should be taken.
-
Use the bench brush to sweep the entire workbench surface into the scrap glass bin.
-
Wipe up any spills or leftover water.
-
Pour out any remaining water from the grinder and ring saw into the Glass Slop Bucket. Never empty this water into a sink or drain.
-
Use paper towels to remove any grit or glass left in the grinder and ring saw.
-
Wash your hands and any part of you that may have come in contact with the solder. Use the lead-removal soap found on the lead materials shelf above the slop-sink in the woodshop for this purpose.
-