
-
-
Verify that your GCode has loaded and the preview looks correct.
-
You may need to double-click in the tool path preview to regenerate the display after loading your gcode.
-
-
-
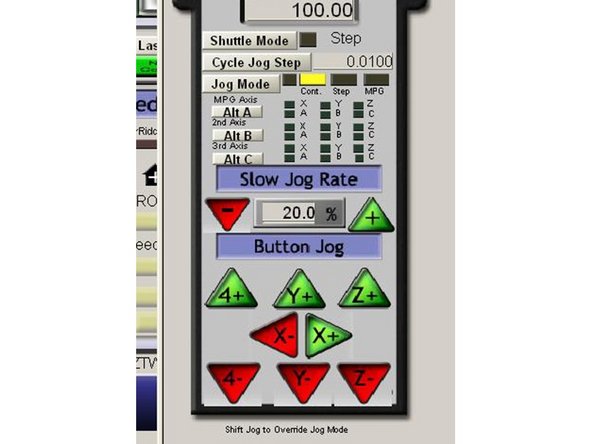
Using the JOG controls, move the machine over the desired origin position you choose during the CAM process.
-
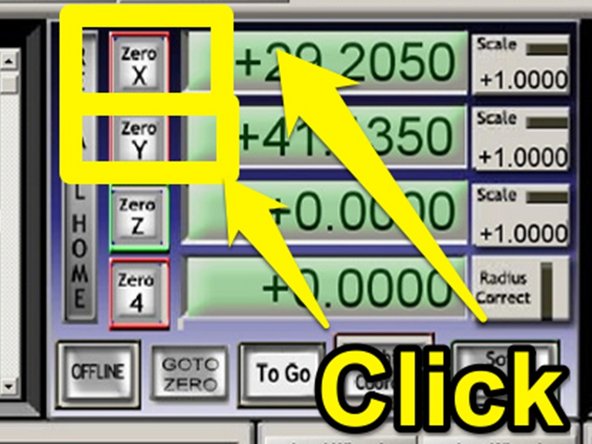
Once the machine is positioned correctly over your X-Y origin, click the X and Y axis buttons to zero the axis.
-
-
-
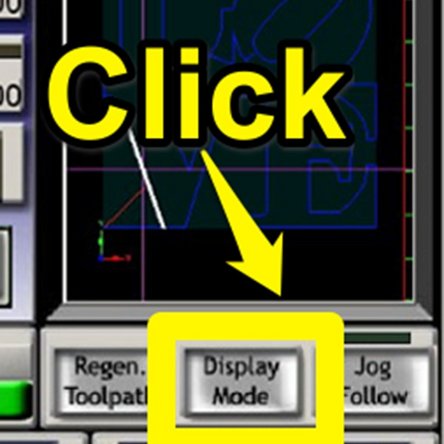
Click "Display Mode" under the toolpath preview window until the display shows the outline of the machine along with the toolpath.
-
The crosshair indicates the current position of the tool bit in relation to the toolpath.
-
You may have to click "Regen Toolpath" after zeroing to update the display.
-
Make sure the toolpath and its orientation to the machine and material affixed to the bed all seem reasonable before continuing.
-
-
-
Follow guide 03 - Changing Tools to install the first bit used in your program.
-
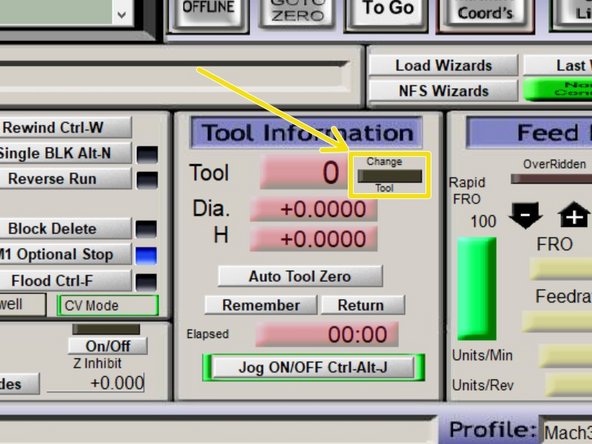
As your program runs, when your program indicates a tool change is required the "CHANGE TOOL" LED on the Tool Information panel will blink and the program execution will pause.
-
Follow 03 - Changing Tools to change to the next tool in your program. The tool number will be indicated in the "Tool Information" panel.
-
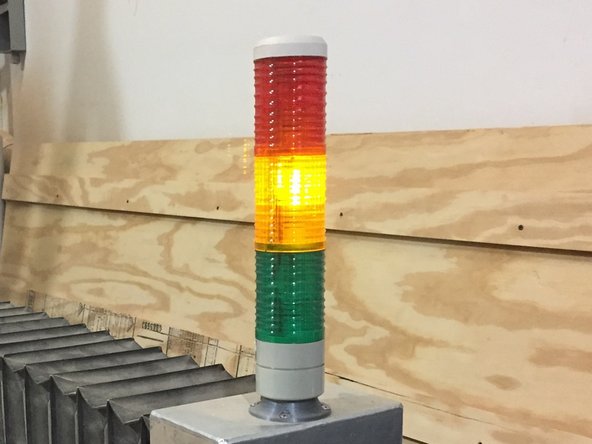
One you complete the changing tools SOP, the spindle should be armed and the Yellow light on the light stalk should be illuminated.
-
-
-
When you are ready to run your job, turn on the dust collection system.
-
Ensure that the blast gate for the spindle in use is pulled OPEN and all other un-used gates are pushed CLOSED.
-
-
-
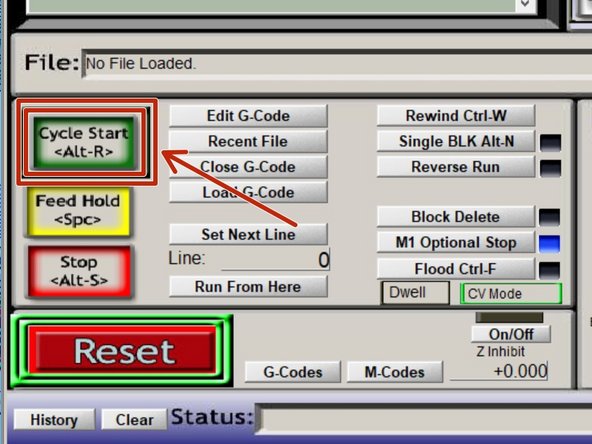
Click "CYCLE START" to start your program running.
-
The "CHANGE TOOL" LED will likely illuminate.
-
If you have already loaded your first tool, click "CYCLE START" to continue.
-
If you have not loaded your first tool, now would be a good time.
-


Cancel: I did not complete this guide.
One other person completed this guide.