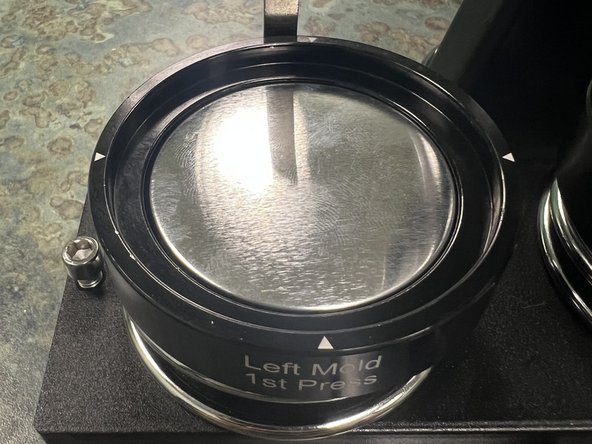
1. Metal button front
    • Metal button front

    • Your paper button design and mylar film. (Note, for a 58mm button, this is a 70mm circle).

    • Button back. This is available in metal or plastic. Choose one or the other.

    • Metal back shim. This shim is used only when pressing the metal button back on the large button. You won’t have to worry about it otherwise.

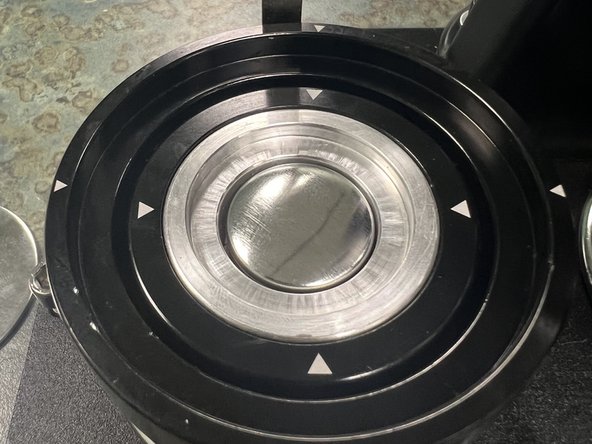
  2. Metal button front
    • Metal button front

    • Paper button design and mylar sheet (the mylar sheet is very thin, make sure you only have one sheet). For a 25mm button these sheets are 30mm in size

    • Button back. This is available in metal or plastic. You’ll only need one or the other.

  3. Place the metal button top into the LEFT mold with the curved smooth side facing up. Place the metal button top into the LEFT mold with the curved smooth side facing up.
    • Place the metal button top into the LEFT mold with the curved smooth side facing up.

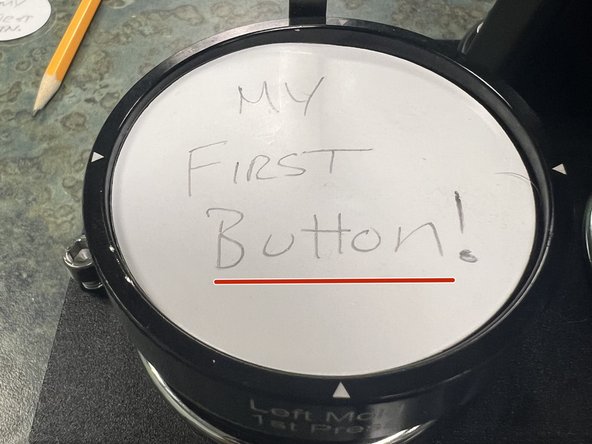
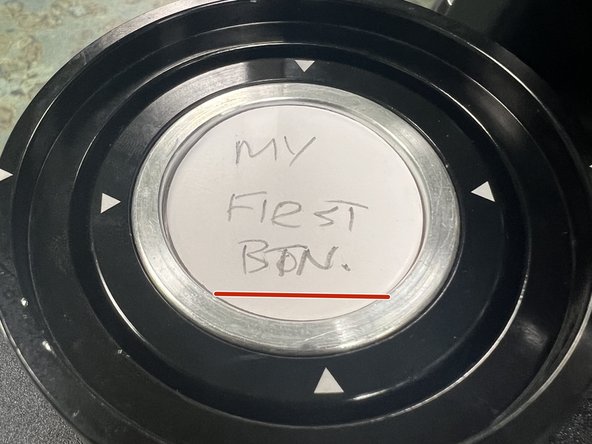
  4. Place the paper design into the LEFT mold, on top of the button top. Try to align the button horizontally. (If this is important to aligning the pin back with the design) Place the mylar film on top of the design.
    • Place the paper design into the LEFT mold, on top of the button top.

    • Try to align the button horizontally. (If this is important to aligning the pin back with the design)

    • Place the mylar film on top of the design.

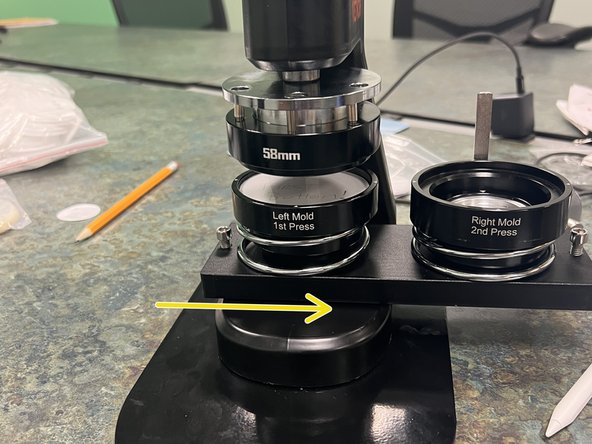
    • Slide the mold tray to the right to align the left mold under the top mold.

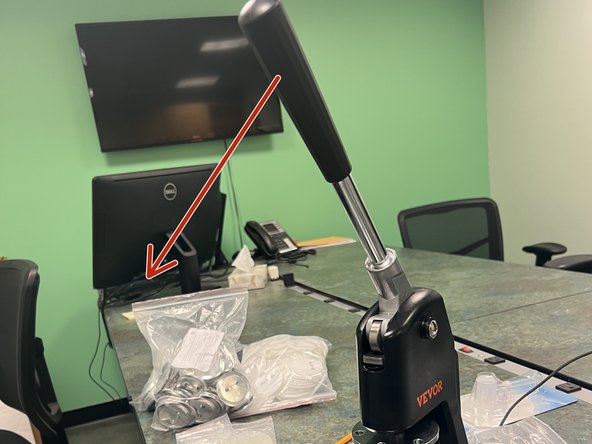
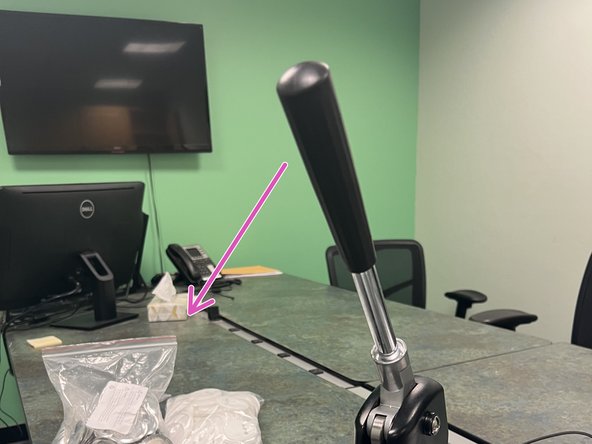
  5. Pull the handle of the machine down until the mold halves close completely.
    • Pull the handle of the machine down until the mold halves close completely.

    • Keep fingers clear of the molds during the pressing process

    • The top part of the button will be retained in the press. Don’t worry, it’ll be produced from the machine in all its glory in a few short steps.

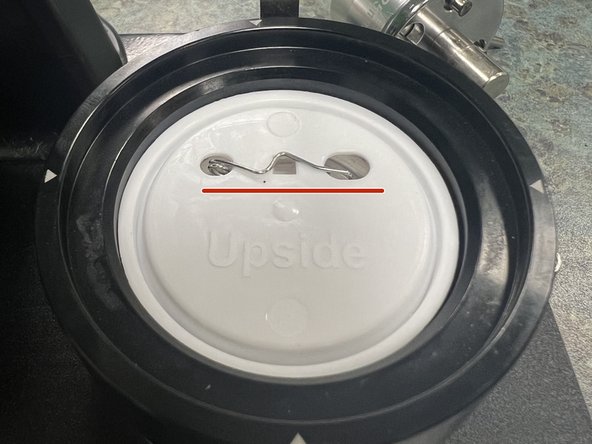
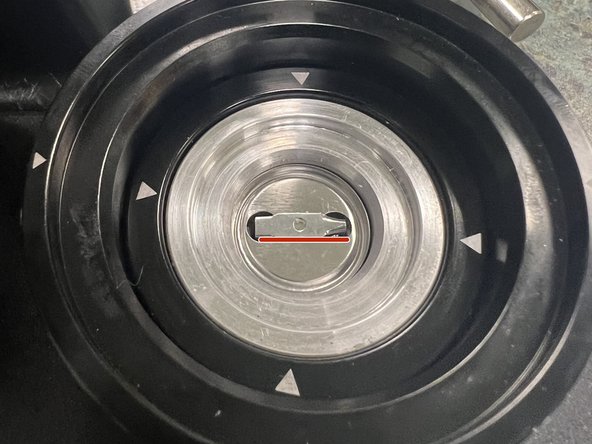
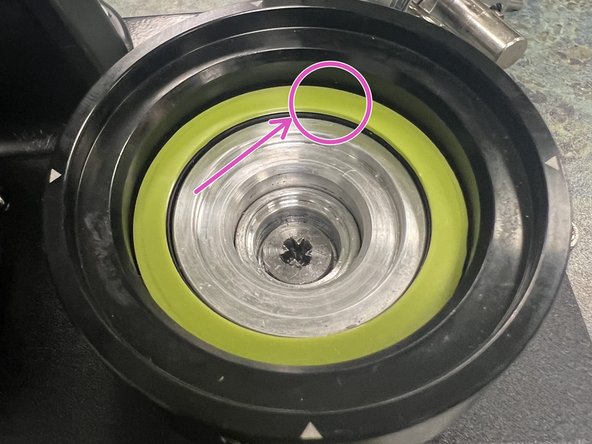
  6. Insert the appropriate button back, PIN SIDE DOWN into the right-hand mold. If alignment of the design to the pin back is important, attempt to rotate the pin until it is horizontal across the machine. For 58mm METAL BACKS ONLY be sure to place the green spacer ring into the mold BEFORE placing the button back in.  The button will not close correctly otherwise.
    • Insert the appropriate button back, PIN SIDE DOWN into the right-hand mold.

    • If alignment of the design to the pin back is important, attempt to rotate the pin until it is horizontal across the machine.

    • For 58mm METAL BACKS ONLY be sure to place the green spacer ring into the mold BEFORE placing the button back in. The button will not close correctly otherwise.

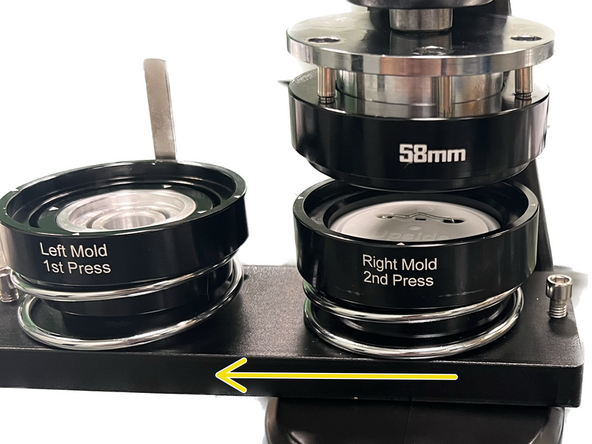
  7. Slide the tray to the left to align it with the right-hand mold. Press the mold closed.
    • Slide the tray to the left to align it with the right-hand mold.

    • Press the mold closed.

    • Keep fingers away from the molds while pressing to avoid getting pinched.

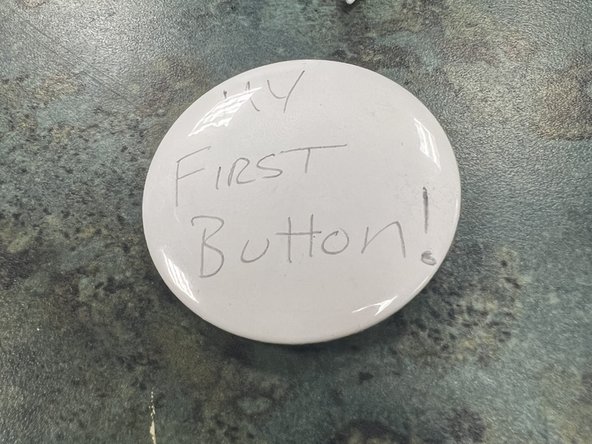
  8. Your finished button will be waiting for you in the right-hand mold!
    • Your finished button will be waiting for you in the right-hand mold!

Finish Line

Brian Adams

Member since: 02/26/2018

8,892 Reputation

54 Guides authored

0 Comments

Add Comment

View Statistics:

Past 24 Hours: 1

Past 7 Days: 2

Past 30 Days: 2

All Time: 15