
-
-
Plane only solid, natural wood. Do not plane composites like MDF, particle board, or plywood. The glue in these materials is very hard on the knives.
-
Plane only dry wood. Wet materials will not plane well, and will wear out the blades quickly.
-
Wood must be clean. All dirt and grit must be thoroughly removed before planing with a stiff brush or by sanding, exposing clean surfaces. Any wood that has been in contact with the ground must be thoroughly inspected and cleaned.
-
No excess glue. Remove as much glue as possible from a glue-up with a scraper before planing.
-
-
-
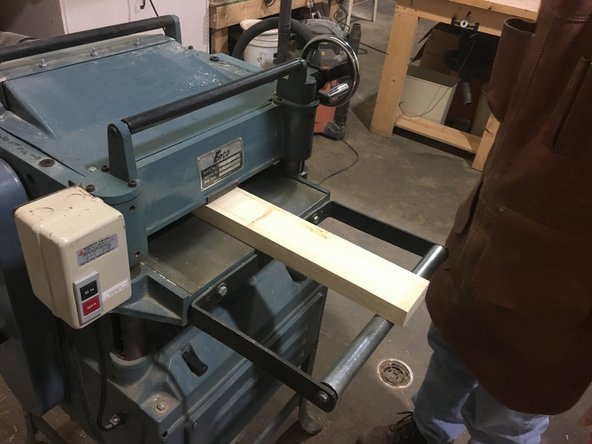
Check that your material is flat enough to run through the machine.
-
Your workpiece must be able to pass through the machine without wobbling or rocking. Otherwise the rollers will not securely control it, and it may kick back
-
A slightly cupped board that does not rock when placed concave (cupped) side down can be planed.
-
If your material is twisted or too warped to pass through the planer, you may be able to flatten one side on the jointer, and then plane the other side.
-
It may be possible to plane a twisted or warped board using a planer sled and shims, but this is an advanced operation, and is not covered here.
-
-
-
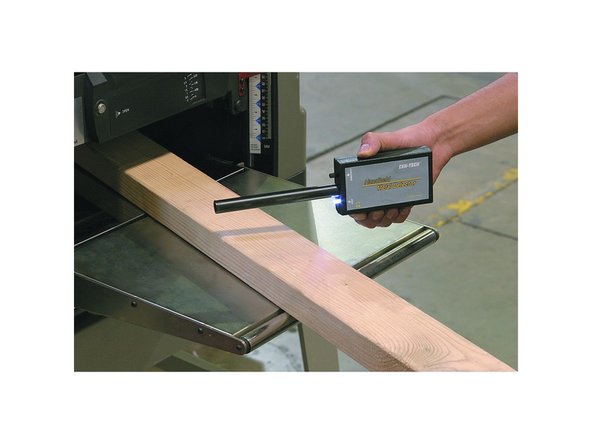
Check that there are no nails, screws, staples or other foreign objects in your workpiece.
-
New wood from a big-box store often has staples in the ends. These need to be removed prior to planing.
-
Reclaimed wood should be checked very carefully for metal.
-
A hand-held metal detector is located near the planer for this purpose. USE IT.
-
-
-
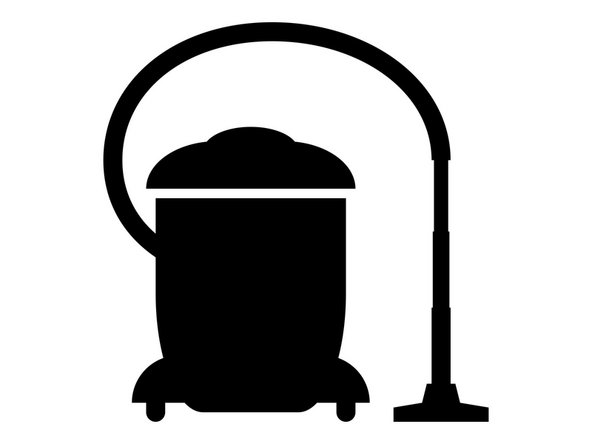
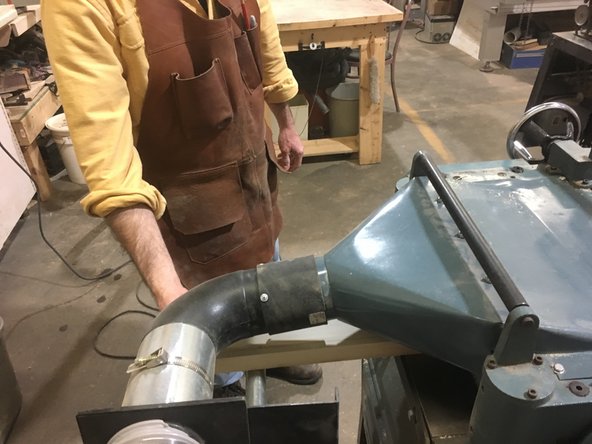
Make sure the vacuum hose is properly attached
-
Check for kins and sawdust clogs in the hose.
-
This machine MUST be run with dust collection. Running it without will cause chips to accumulate in the head, potentially causing damage to the machine.
-
Open the blast gate, and close any others on the same vacuum system.
-
Turn on the dust collector
-
-
-
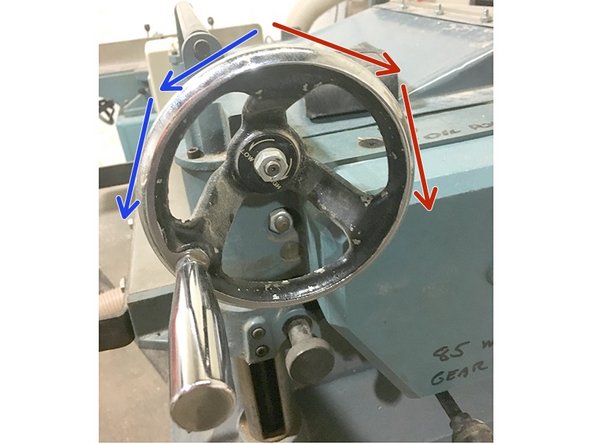
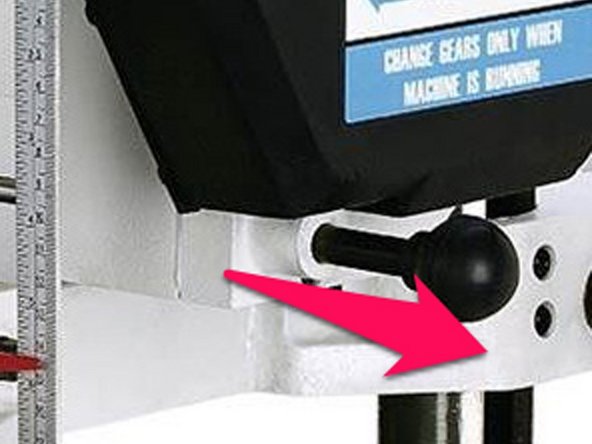
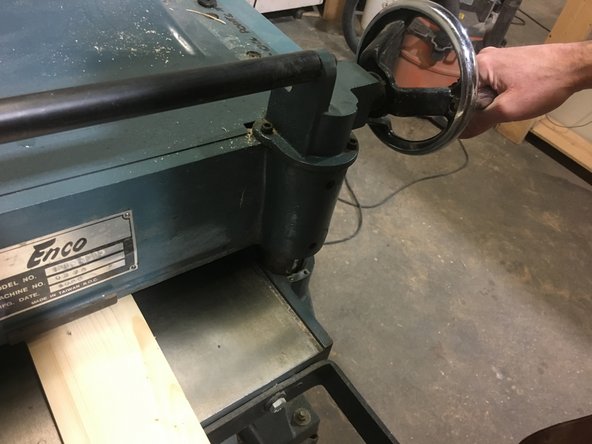
Turn the adjusting wheel counter clockwise to lower the bed and produce a thicker piece.
-
Turn the adjusting wheel clockwise to raise the bed and produce a thinner piece.
-
Crank the table up or down so that the opening is just a bit larger than your material thickness.
-
-
-
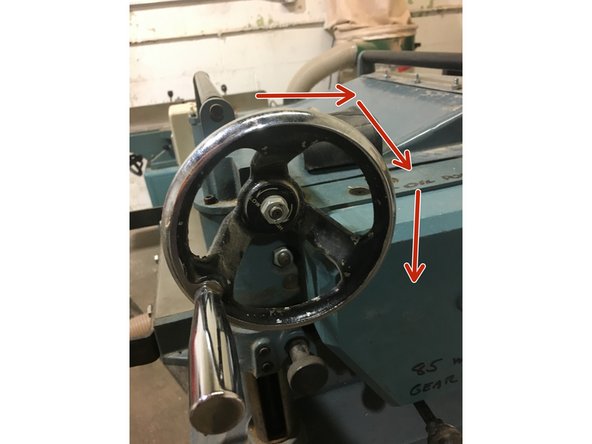
Continue passing your workpiece through the machine until you reach your desired thickness.
-
Turn the crank 1/8 to 1/4 turn clockwise between passes to raise the table.
-
Hard woods require shallower passes than soft woods, and a wider board requires shallower passes than a narrower board.
-
Let the sound of the knives on the material guide you. If the sound of the knives is too aggressive, or if the machine is bogging down, take shallower passes.
-
Shallow passes produce a better result, and produce less wear on the cutting knives.
-
When your board’s width allows, pass it under a different part of the head each time. This will wear the blades more evenly, reducing the need for sharpening.
-
-
-
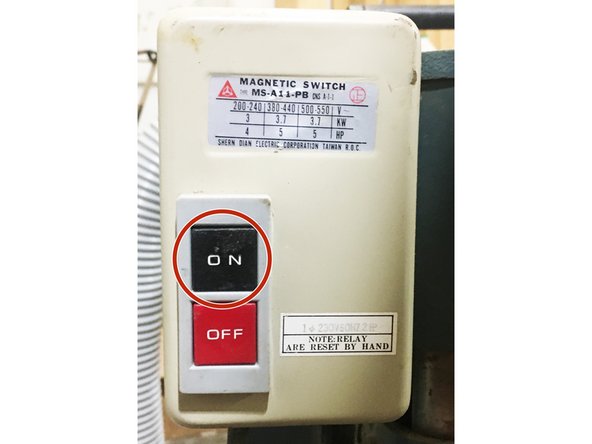
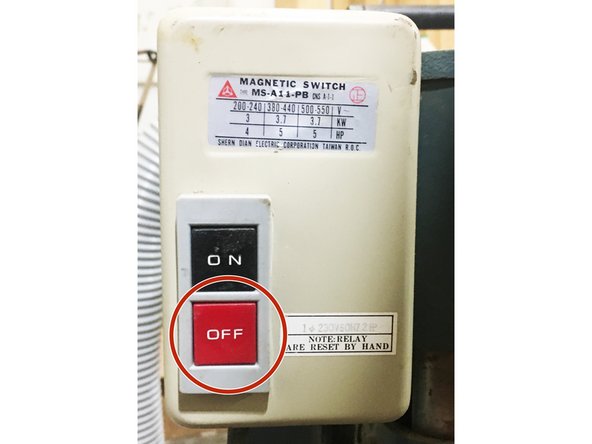
Turn off the machine by pressing the "OFF" button.
-
The motor can take some time to spin-down after your press the off button. Be sure the machine has fully stopped before working inside the machine
-
-
-
Turn off the dust collecto and close the blast gate.
-
Friends don't let friends leave blast gates open.
-


Cancel: I did not complete this guide.
One other person completed this guide.