-
-
Metal button front
-
Your paper button design and mylar film. (Note, for a 58mm button, this is a 70mm circle).
-
Button back. This is available in metal or plastic. Choose one or the other.
-
Metal back shim. This shim is used only when pressing the metal button back on the large button. You won’t have to worry about it otherwise.
-
-
-
Metal button front
-
Paper button design and mylar sheet (the mylar sheet is very thin, make sure you only have one sheet). For a 25mm button these sheets are 30mm in size
-
Button back. This is available in metal or plastic. You’ll only need one or the other.
-
-
-
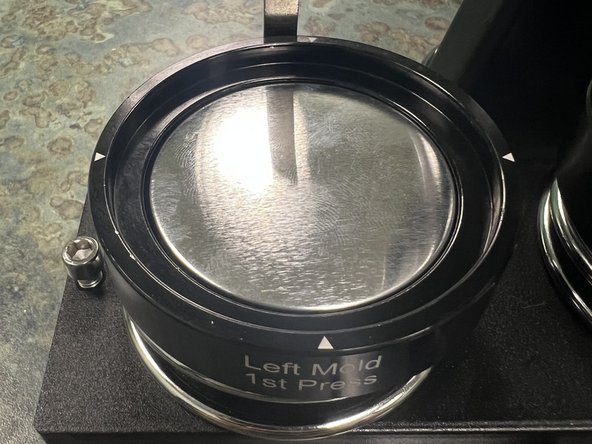
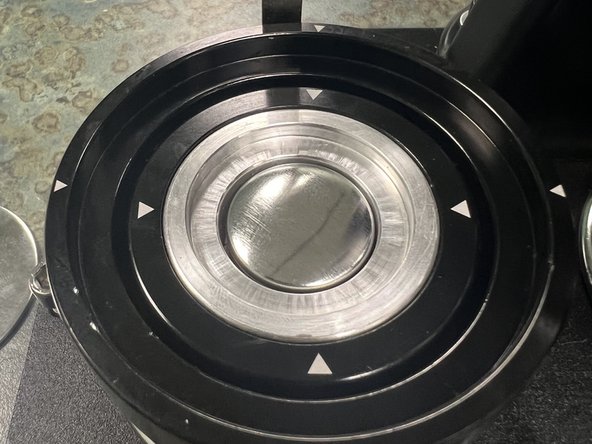
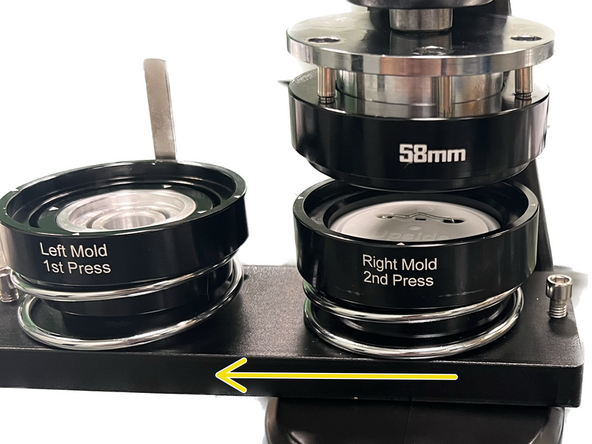
Place the metal button top into the LEFT mold with the curved smooth side facing up.
-
-
-
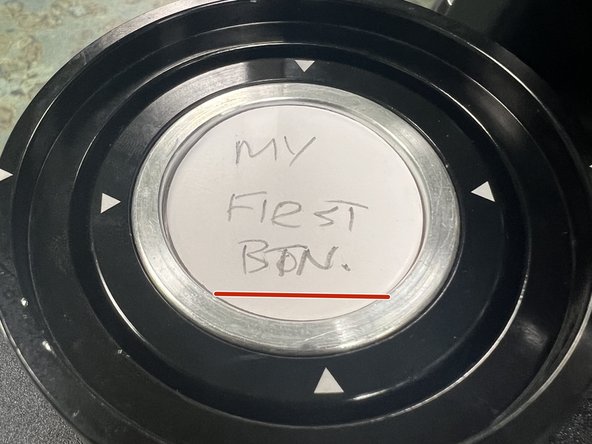
Place the paper design into the LEFT mold, on top of the button top.
-
Try to align the button horizontally. (If this is important to aligning the pin back with the design)
-
Place the mylar film on top of the design.
-
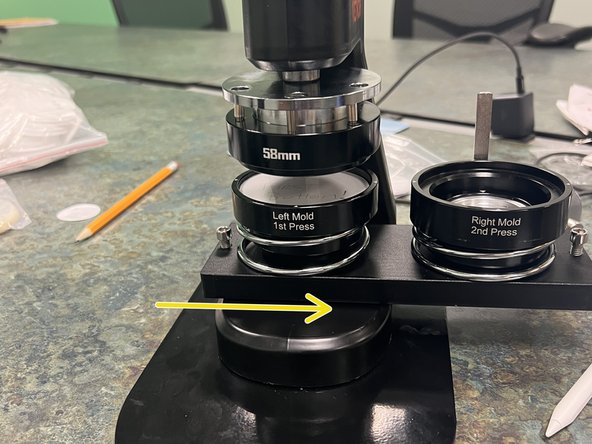
Slide the mold tray to the right to align the left mold under the top mold.
-
-
-
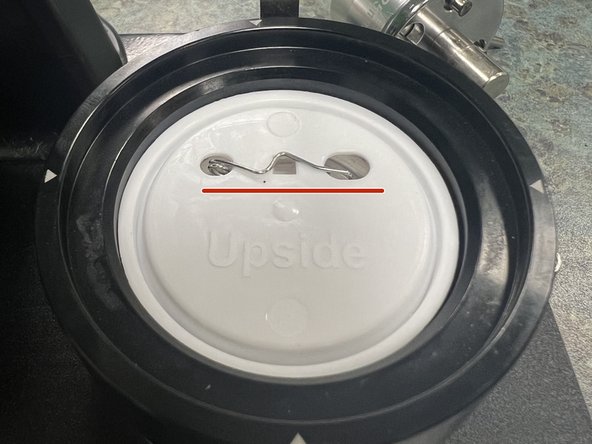
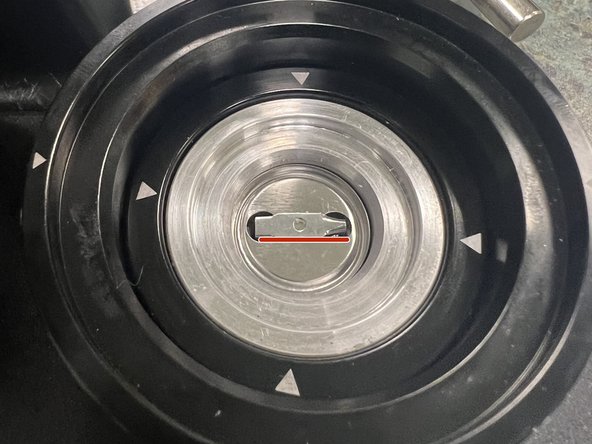
Insert the appropriate button back, PIN SIDE DOWN into the right-hand mold.
-
If alignment of the design to the pin back is important, attempt to rotate the pin until it is horizontal across the machine.
-
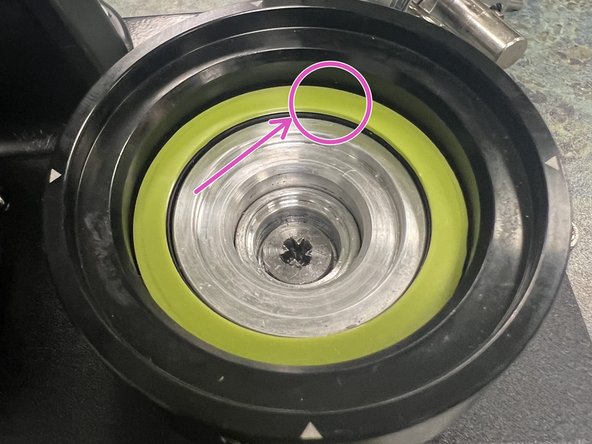
For 58mm METAL BACKS ONLY be sure to place the green spacer ring into the mold BEFORE placing the button back in. The button will not close correctly otherwise.
-
-
-
Slide the tray to the left to align it with the right-hand mold.
-
Press the mold closed.
-
Keep fingers away from the molds while pressing to avoid getting pinched.
-