-
-
You can also download slic3r to use on your own computer here: https://www.prusa3d.com/drivers/
-
-
-
Click Add on the button bar
-
Locate your STL file
-
Click Open to insert it onto the build platform.
-
-
-
Click and drag the inserted model to move it on the build platform (the model will stay locked to the platform in the Z direction)
-
Click and drag in the empty space to orbit your viewport.
-
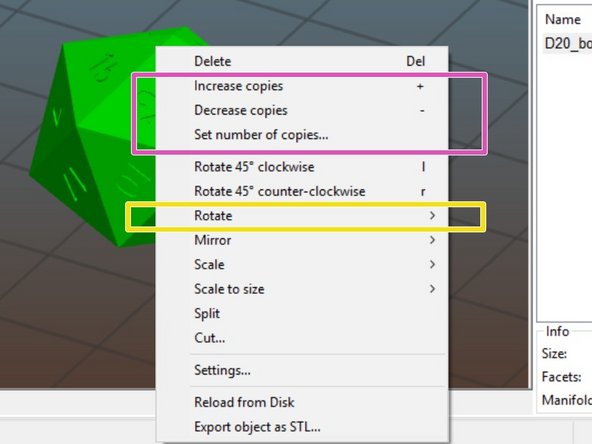
Right click and select "Rotate" to rotate your object onto the build platform.
-
You can also add/remove copies of your object from the right click menu. (Note, if "Auto Arrange" isn't selected in Preferences, you'll need to move your copied models around on the bed).
-
Use the scroll wheel on your mouse to zoom in and out
-
Middle click and drag to pan the viewport.
-
-
-
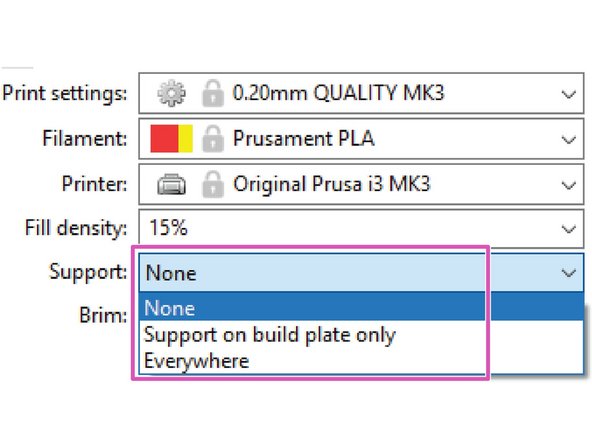
Ensure the Print Settings, Filament, and Printer dropdown menus match the picture shown.
-
Set the desired fill density for your print.
-
Most jobs can be printed at 15-20%. Bear in mind, the greater your fill density, the longer your print will take!
-
If your print job includes any overhang, set your desired support settings.
-
-
-
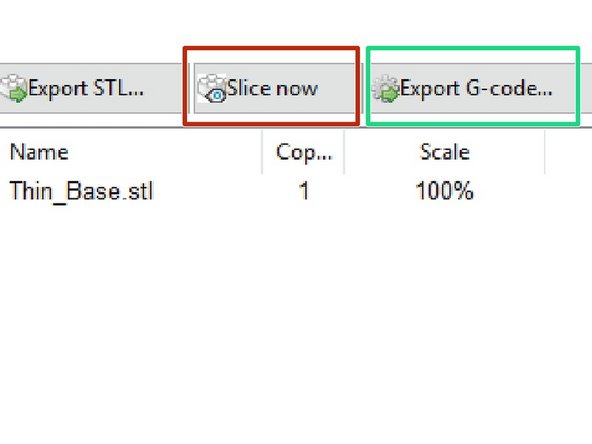
Click "Slice now" to prepare your file for export.
-
Click "Export G-code" to save your file in your desired location.
-