
-
-
The biggest hazard associated with the button press is getting fingers or other body parts caught in a pinch point.
-
Keep hands clear of pinch points.
-
-
-
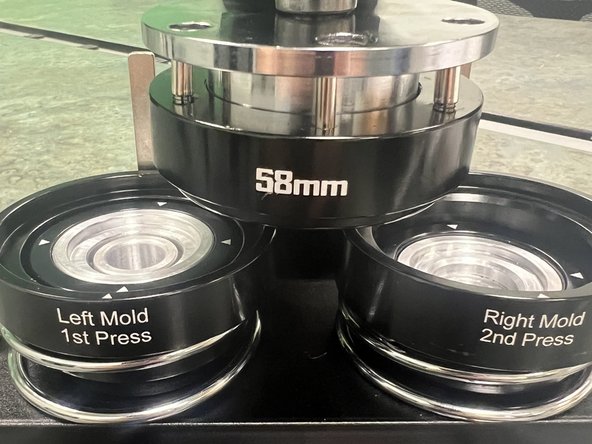
The bottom mold plate slides back and forth to align with the upper mold.
-
Note the pegs will bump into a portion of the top mold to help align it.
-
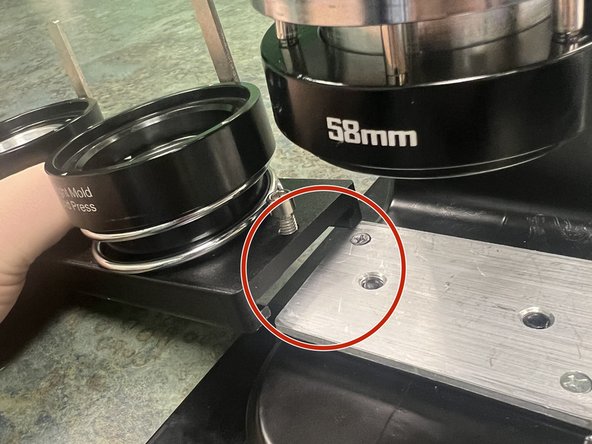
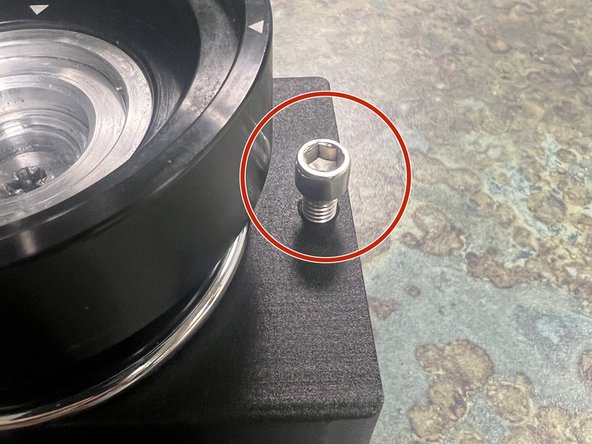
A screw on each end of the sliding plate keeps the plate from sliding completely off the press.
-
-
-
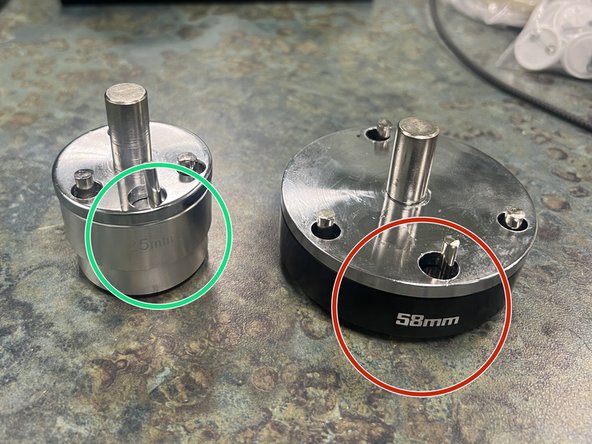
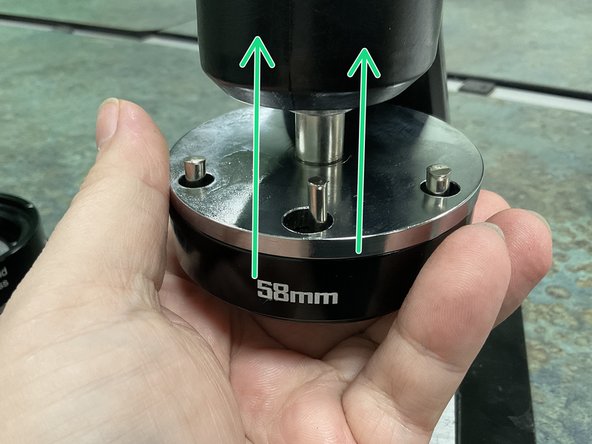
The smaller of the two top molds is used to press 25mm diameter buttons.
-
The larger mold is used to press 58mm buttons.
-
The two molds have their sizes engraved on the front as well.
-
-
-
In order to change the top mold, you’ll need to remove the bottom tray first.
-
Remove or loosen the screw at one end of the sliding tray.
-
The pin on the back of the top mold will prevent sliding the mold tray all the way out.
-
Using your finger, you can lift the top mold up so that the sliding try can slide past. (You may need to rotate the top mold to allow it to travel upward.)
-
-
-
While the bottom molds are used for both sizes of button, you’ll need to ensure the top mold matches the size button you’re working with.
-
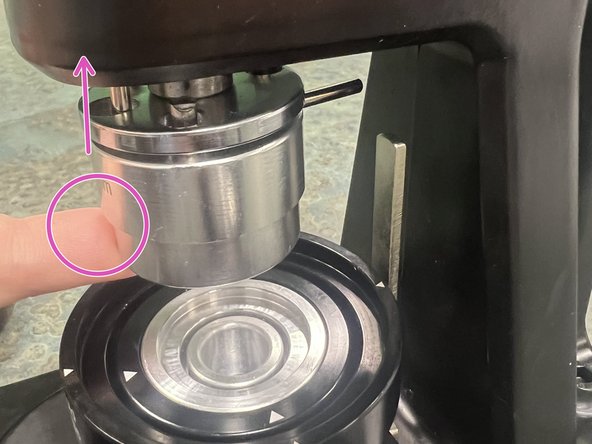
The top mold is held in place with a magnet. Pull sharply and firmly down and the mold should pop out of the holder.
-
-
-
Select the correct top mold for the size button you’ll be making.
-
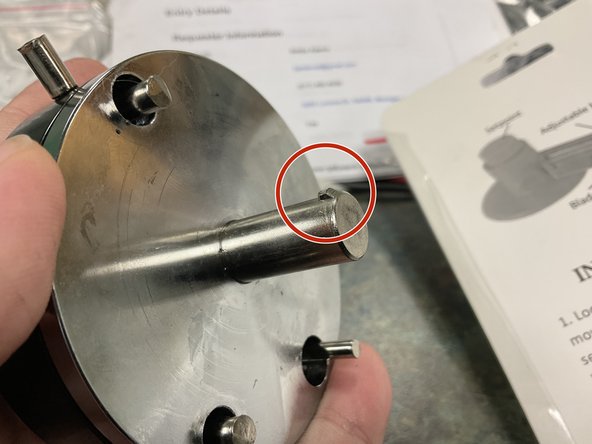
Note there is a protuberance on the shaft of the top mold. This protuberance should be toward the back of the press.
-
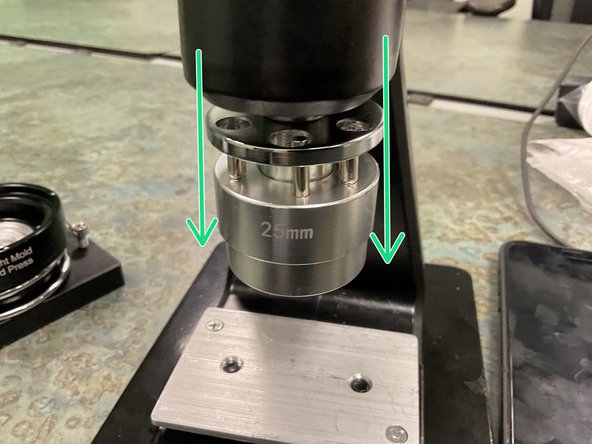
Align the protuberance with the notch in the shaft and slide the mold up until it snaps into place (it is held in place using magnets)
-
The mold should slide *very* easily into the machine. If you meet any resistance STOP and make sure the shaft is aligned correctly.
-
-
-
Align the tray dovetail with the matching plate on the press.
-
As you slide the tray across the press, the pin on the back of the top mold will interfere.
-
Using your fingers, raise the top mold to allow the pin to slide past.
-
-
-
Reinstall the screw that keeps the tray from sliding off. (This isn’t strictly necessary, but do us a solid here)
-
If everything is setup correctly, you should be able to slide the tray left and right under top mold. If you’re not able to align either mold check that the top mold’s pin is in between the lower molds.
-


Once everything is setup, you’re ready to make a button!
Once everything is setup, you’re ready to make a button!